How To Run A Blog Giveaway With InLinkz

Running a blog giveaway is a great way to skyrocket your blog’s exposure and increase your audience.

Usually, setting up a giveaway is a time-consuming process that seems daunting to readers.

InLinkz can help you run a giveaway the easy way. Not only saves you from doing things manually but also makes entry easy for your readers.

Here is how you can set up an InLinkz giveaway in only four steps:

1. Go to your InLinkz dashboard and select to create a new link party

2. Enter the basic information regarding the giveaway, such as the opening and the closing date, the entry requirements/ rules (make sure you state them in a clear and consice manner) as well as the prize details.

3. Click on the Giveaway checkbox and your giveaway is ready to be launched.

Once you have created a giveaway, a purple gift icon will be displayed on the party’s board which indicates the giveaway.

4. Add the code to your blog while on HTML mode and invite your readers to participate in your giveaway.

Spread the word!

Notify your followers about the upcoming giveaway by enabling the corresponding option from your dashboard:

Once you have activated it, an email notification will be sent to your followers.

How to pick the winner

Once the giveaway period ends, you can use the widget to pick your winner.

1. Click to preview the giveaway or the gift icon to manage your giveaway.

2. Select to pick a winner by clicking on the “pick a winner” link.

The system will randomly select a winner from the participated entrants.

Keep in mind that only entrants that have verified their emails are eligible to win.

After you pick a winner, the winner’s link will be marked as purple in your collection.

Announce the winner on your blog as well as on your social networks for gaining more views on your blog.

How To Add Your Links In A Link Party

A new link party has been announced and it is time for you to add a link.

Let’s see how you can do it with only a few clicks!

If it is the first time you join an InLinkz link party, you will need to verify your entry.

Before you get started, make sure you read carefully the rules that the host has set and follow them.

Add your link

1. As soon as a link party opens for entries, a blue +Add Link button will be displayed at the bottom of the blog post. 

Add link

Note: In some cases, you might need to click on the “Click here to enter” button to view the link party:

Click on the blue button to enter to the link party

2. Click on the +Add Link button to expand the link options.

Here is how the linkup page will look like:

Link options

3. The Blog tab will be open by default. Copy the link you want to add and paste it to the URL field.

Paste your link

4. The widget will bring in all the images associated with this URL.

Images associated with a link

5. Click on an image to select it.

Select an image

6. Crop the image to fit and apply the cropping.

Crop the image

Apply cropping

7. The widget will automatically pull a title for the link. Edit it, if necessary.

Edit the caption

8. On the email field the email you have used to login will be displayed.

To linkup using a different email, click here

Diplay email

Note: Your email will be only visible to the host of the link party.

9. Follow the host to get notified for new link parties by checking the relevant box.

Follow a host

10. Agree to the InLinkz Terms of ServicePrivacy Policy and save your link to the collection.

Save your link

Note: If a host requires backlinks, then your link might not be visible in the collection until they moderate it.

Upload a link

If the URL of a link doesn’t bring in the desired image, you can alternatively upload an image from your computer.

1. Select the upload tab.

Upload a link to a link party

2. Save an image to your computer and then drop it into the widget. You can also copy the URL of the image and paste it in.

Upload a link to a link party

Tip: To copy the exact URL of the image, right-click on the image and then select to “Copy image address”.

Share your link with your followers

Once you submit a link, share it with your followers on Pinterest, Facebook, and Twitter and let them know of your participation. Invite them to visit your link.

Share you link on pinterest, facebook or twitter

Add the same link to multiple linkups

In case you want to add subsequent links to multiple linkups without needing to re-type the caption use the History function

Want to find more link parties to join? Visit our free link party Directory!

How To Start A Link Party: A Step By Step Quide

Welcome to InLinkz link parties!

InLinkz makes it easy for you to throw your own link party on your blog.

Sign up for free to start hosting linkups.


We have created this free guide so that anyone can learn how to run a blog link party quickly and easily.

So, just how do you start a link party?


Learn how to host your own link party following these steps:

Create a free account

1. Go to Inlinkz and click on the blue button at the top right to get started.

2. Register to the service via an existing social account (facebook or google).

Register to InLinkz via social media

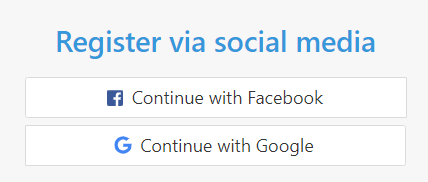
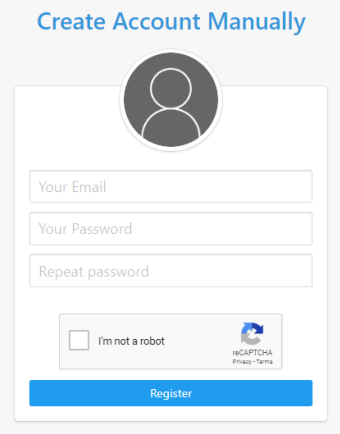
Alternatively, create an account manually.

Create an InLinkz account manually

After registering, you will receive an activation email at the email address you entered during registration. Select the link in the email to activate your account.

If you do not see the activation email in your email inbox, please check your junk/ spam folder.

If you’re still not receiving the email, contact us to troubleshoot further.

First login to InLinkz

If you are logged into InLinkz for the first time, you will need to set up your timezone and associate a blog with your account.

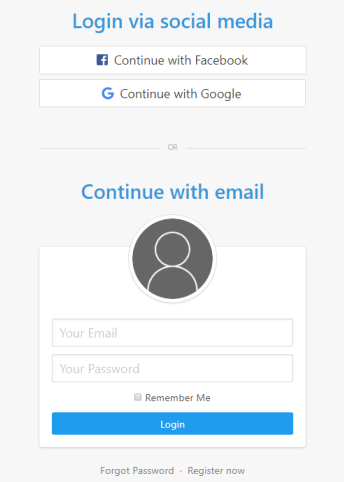
1. Log into InLinkz via social media or continue with your registered email.

Log into InLinkz


2. Click on the arrow next to your email and go to your Settings.

Account Settings

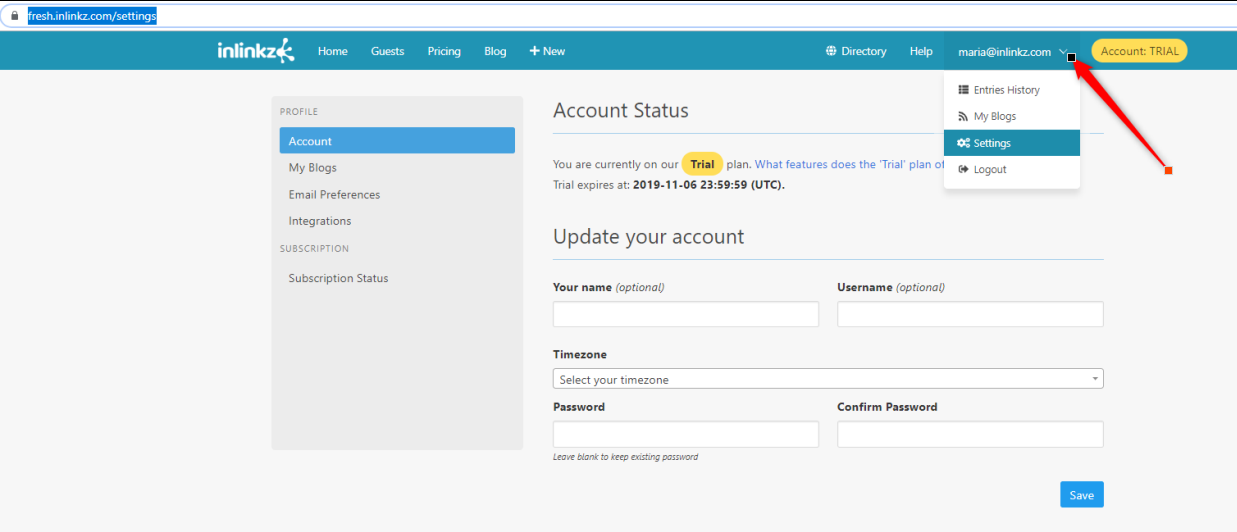
3. On the Account Status,  set your timezone from the dropdown menu.

Timezone

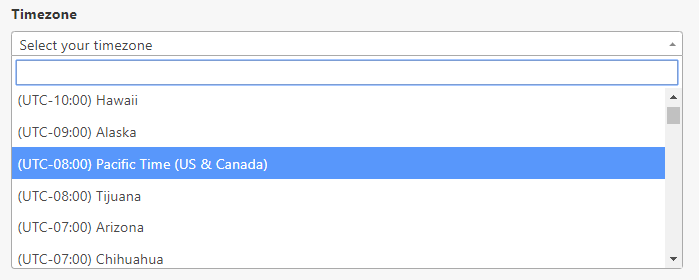
Setting your timezone determines what time a link party opens and ends.

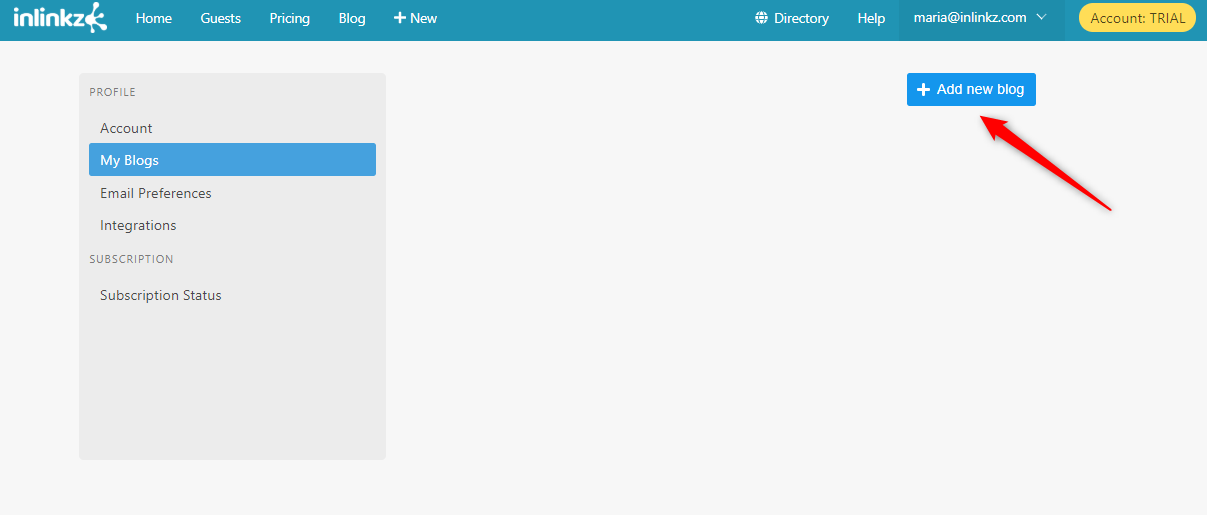
4. Select the “My Blogs” tab from the Profile box on the left to associate one or more blogs with your account.

To +Add a new blog click on the blue button on the right.

Associate a blog with your InLinkz account

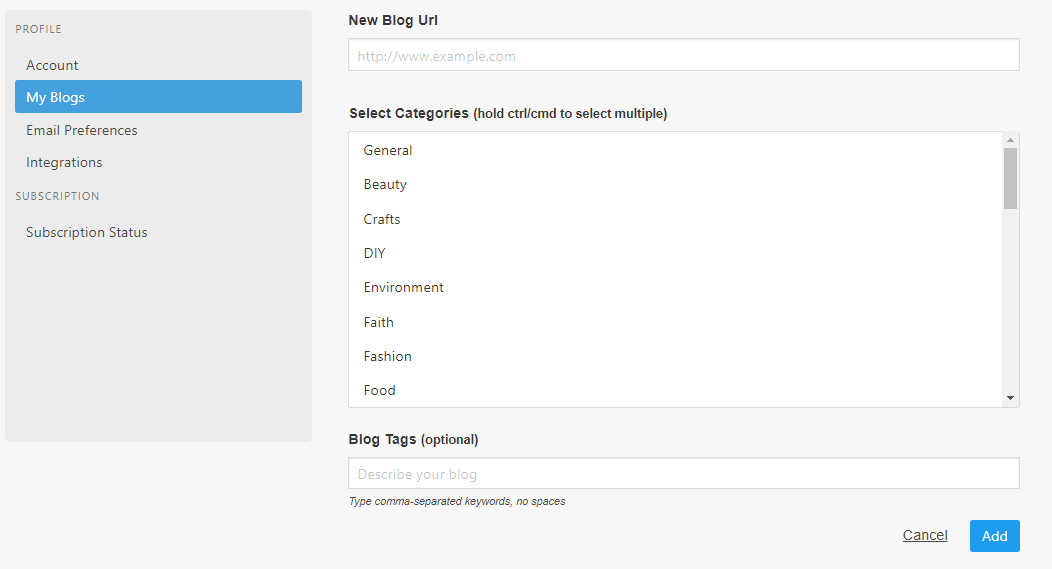
Enter your blog’s URL in the first field.

Select one or more blog categories (by holding the ctrl/ cmd).

Enter a few tags to describe your blog.

Associate a blog with your InLinkz account

Create your first link party

Now, it’s time for you to create your very first link party!

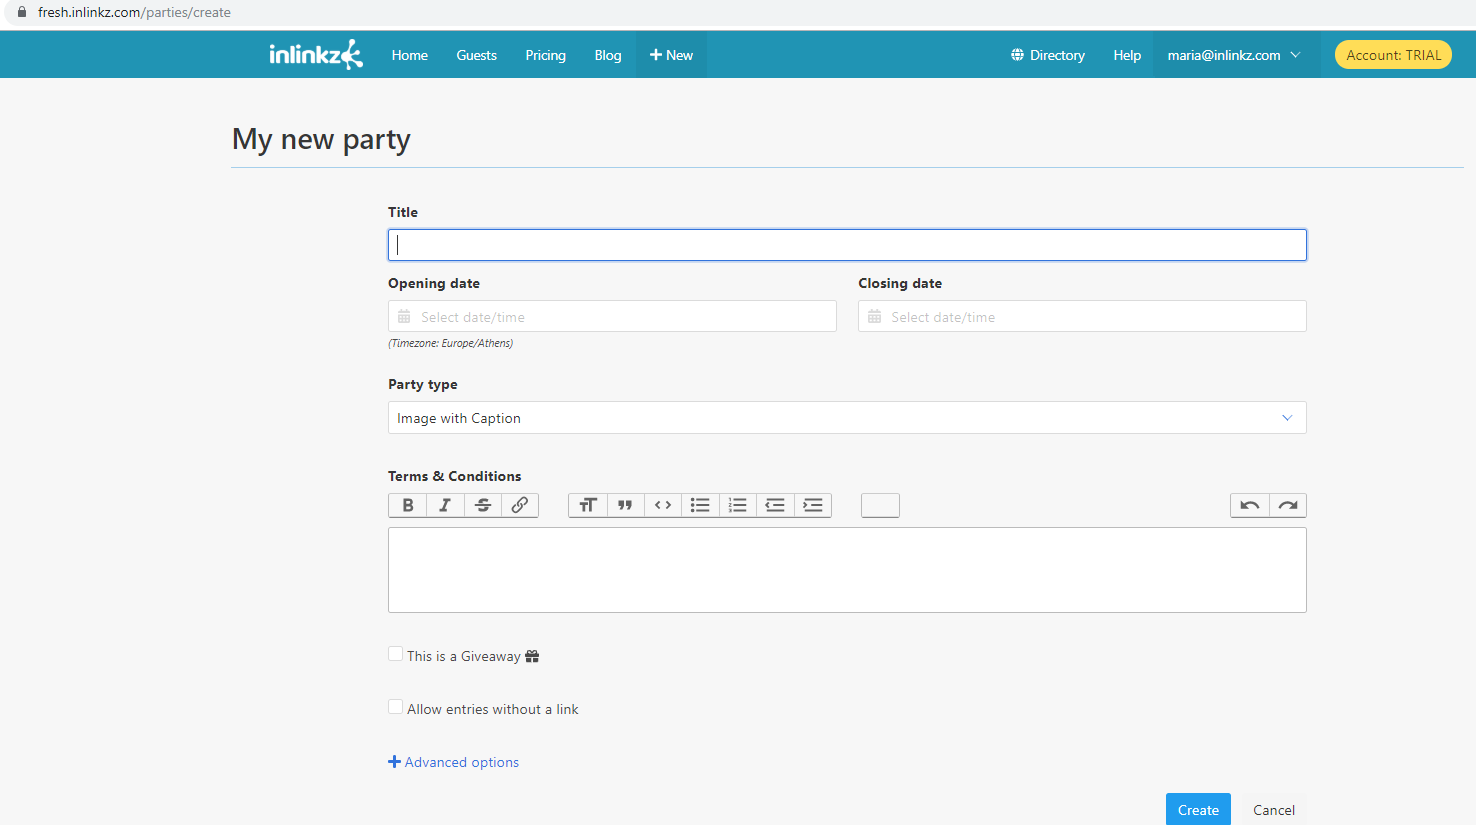
1. On your InLinkz dashboard, click on the +New tab.
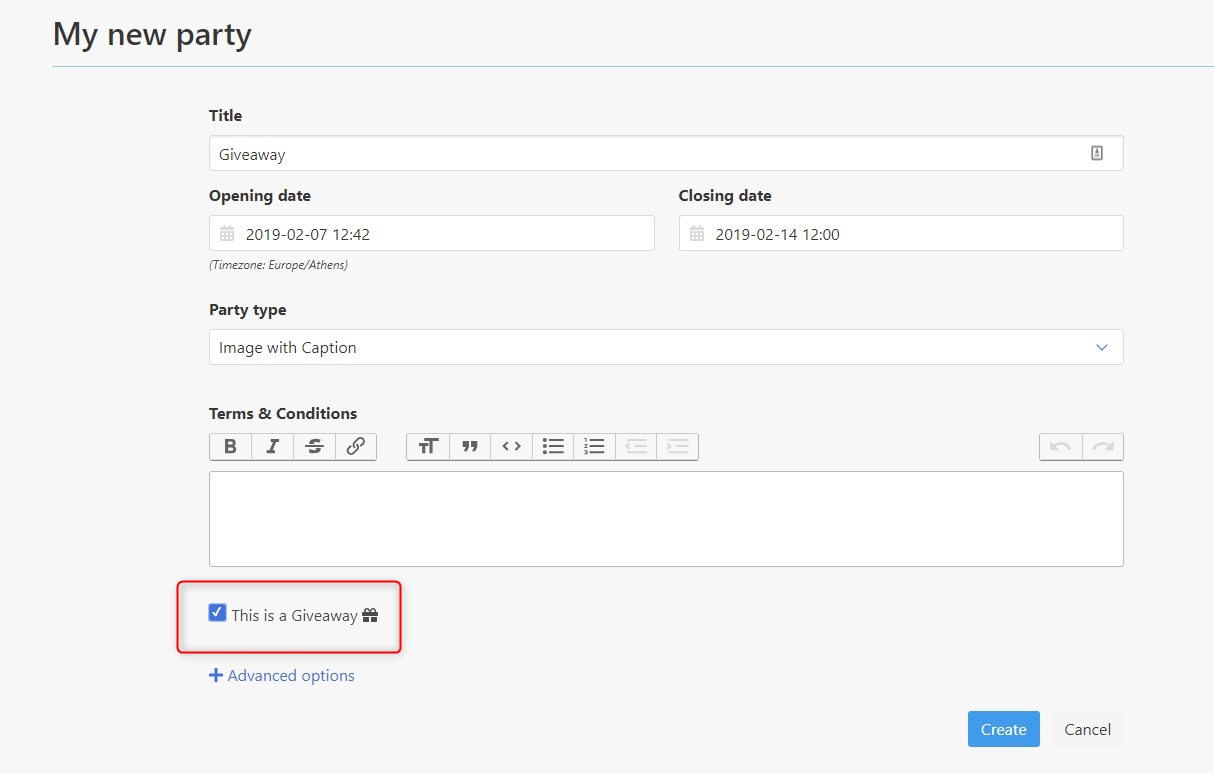
Create an InLinkz link party

2. Select a title.

Select a title for your link party

Note: This title will be displayed in the InLinkz Directory as well. To join our free link party directory, click here.

3. Set an opening and a closing date. Once you click on the desired date, the clock to set the time will be shown.

Set an opening and a closing date for your link party

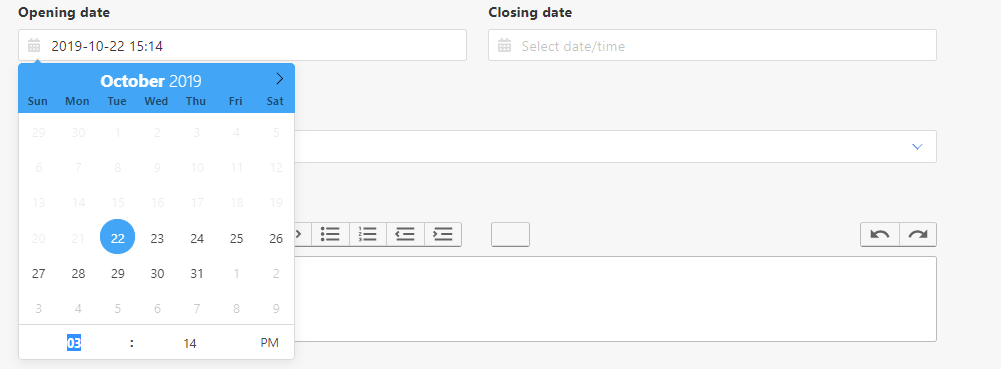
A link party opens for new submissions at the date and time set in the “Opening Date” field and closes when the “Closing date” is reached.

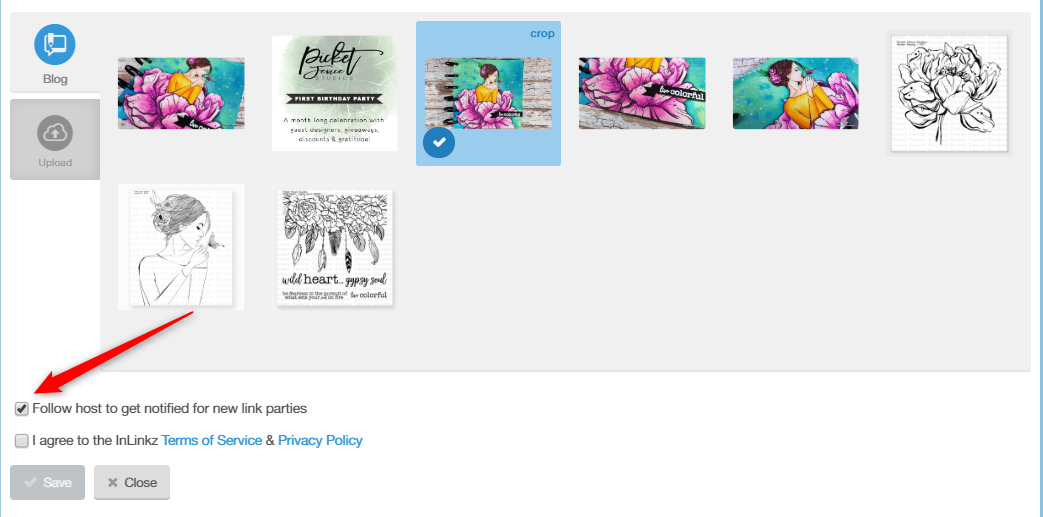
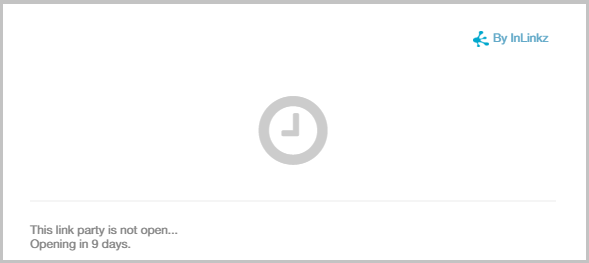
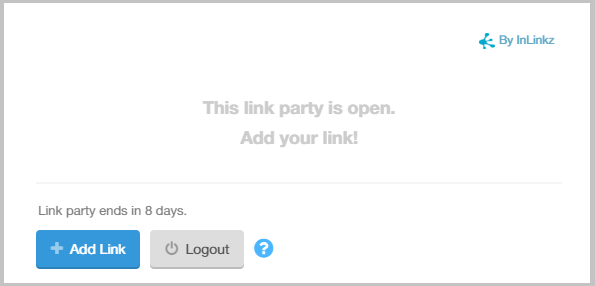
Here is how your link party will look on your blog before it opens:

This link party is not open

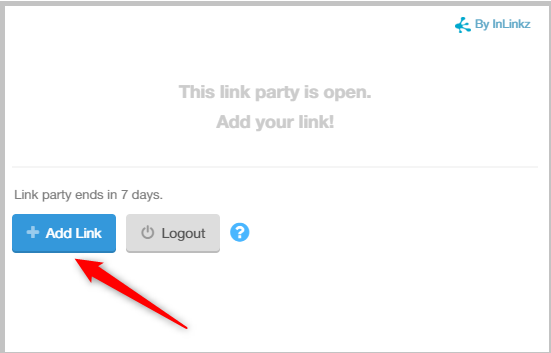
Between the opening and the closing date, the widget will display an “Add Link” button for entrants to add their links:

This link party is open

4. Select a type for the party.

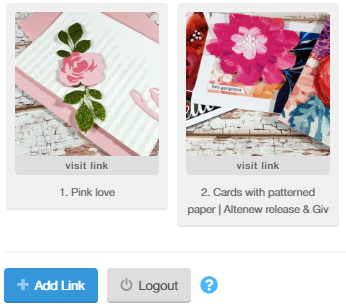
Thumbnails with captions

Thumbnails without captions

or the thumbnails without any additional information underneath the image.

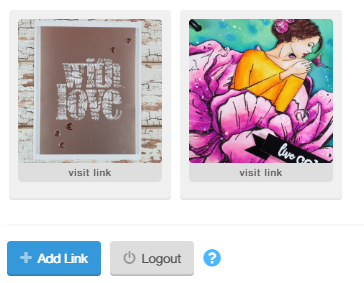
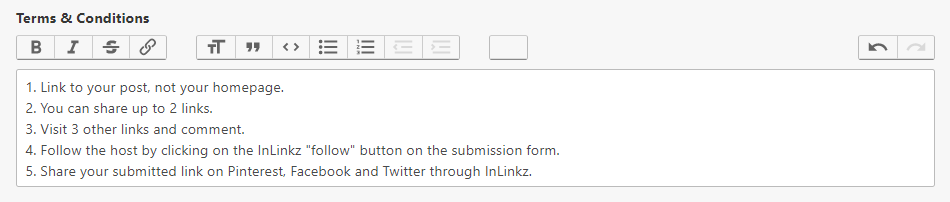
5. Write the Terms & Conditions for your party and let your guests know about the rules, the prizes or any other prerequisites for joining the party. These will be visible on your blog just before the link collection.

Terms and Conditions of a link party

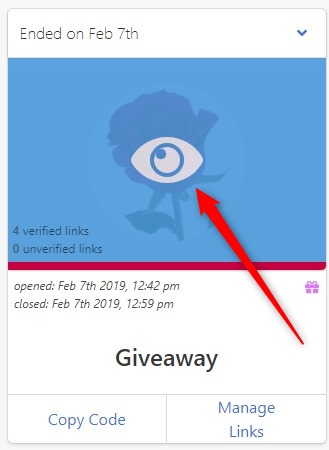
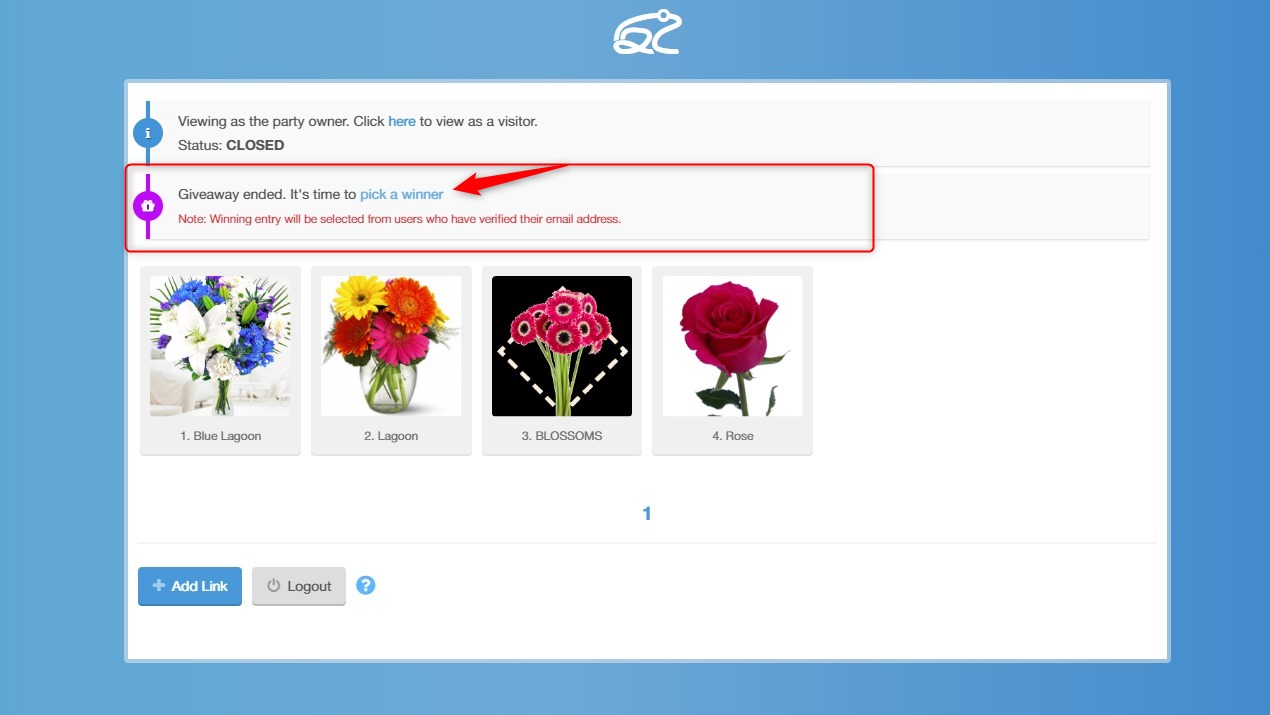
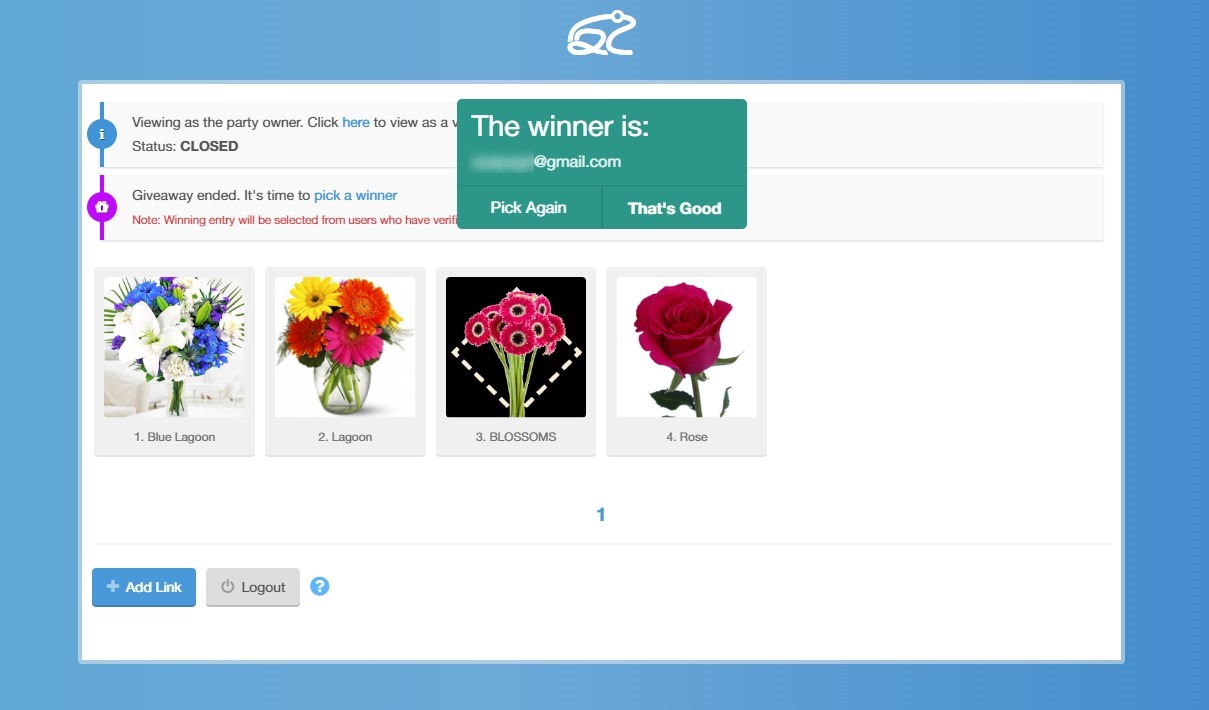
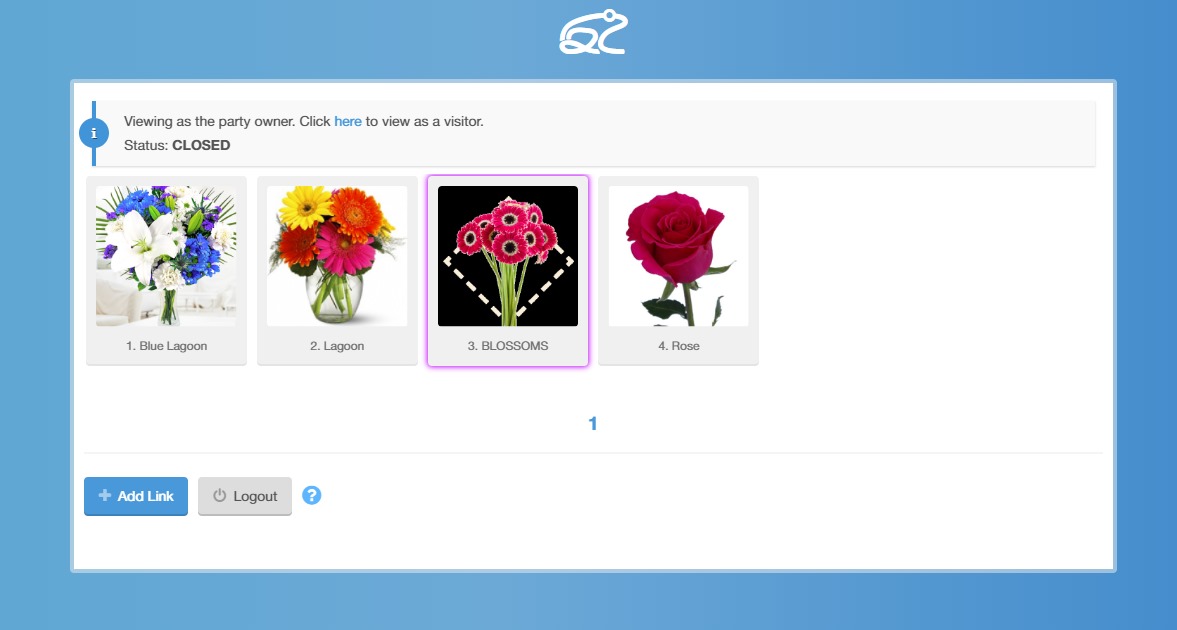
6. Click on the Giveaway checkbox, if you want to run a giveaway.

InLinkz giveaway

7. Check the “Allow entries without a link” option to allow entrants to join a  link party, even if they don’t have a link to submit.

Allow entries without a link

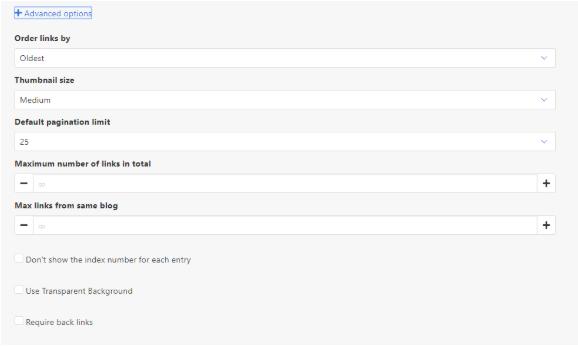
8. To customize your link party further, click to expand the +Advanced options. To learn more about the +Advanced options, click here.

Advanced options

9. Click on the blue button at the bottom of the page to create your party!

Create a link party

10. The only step left is to copy the code of the party and add it to your blog.

How to add the link party to your blog

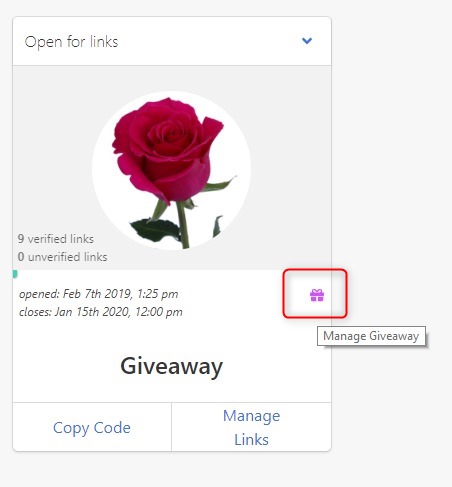
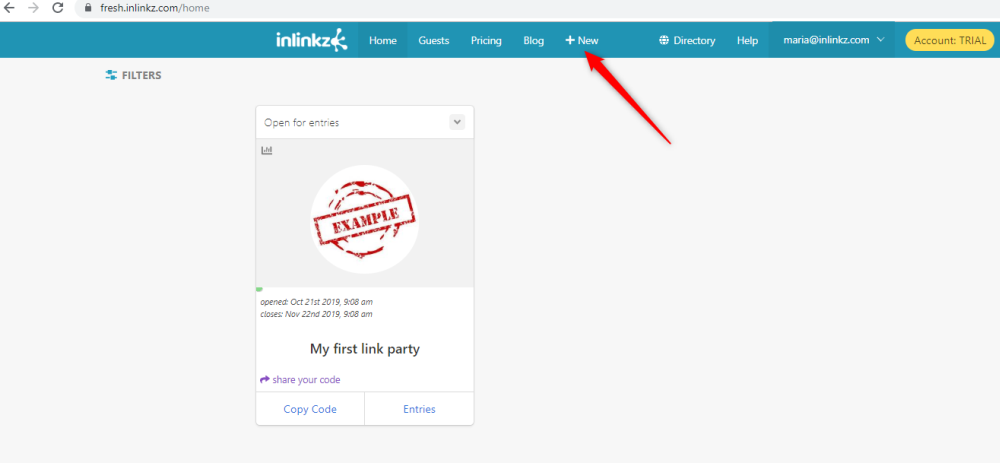
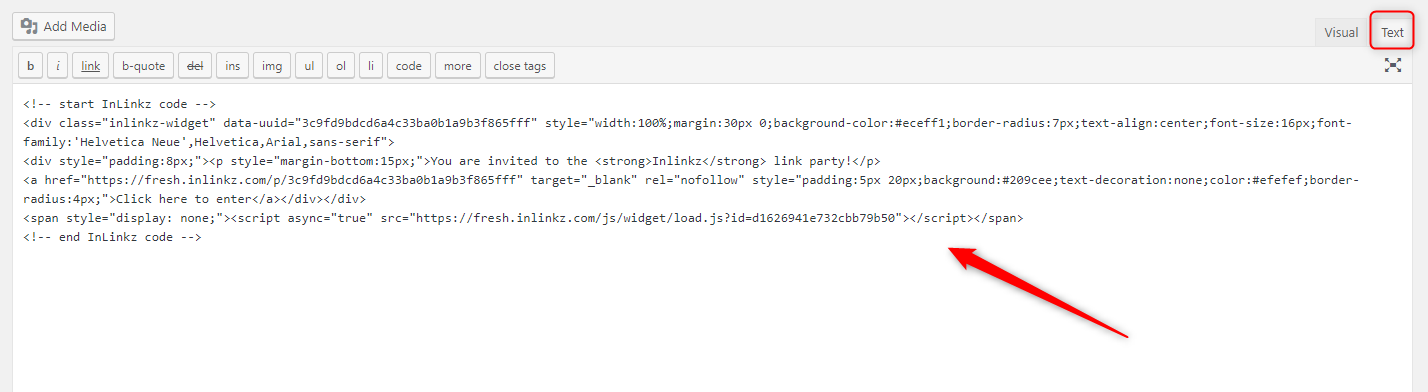
1. Once you create the link party, go back to your InLinkz home page and click on the copy code button to grab the code of the link party.

2. Copy the code

Link Party Code

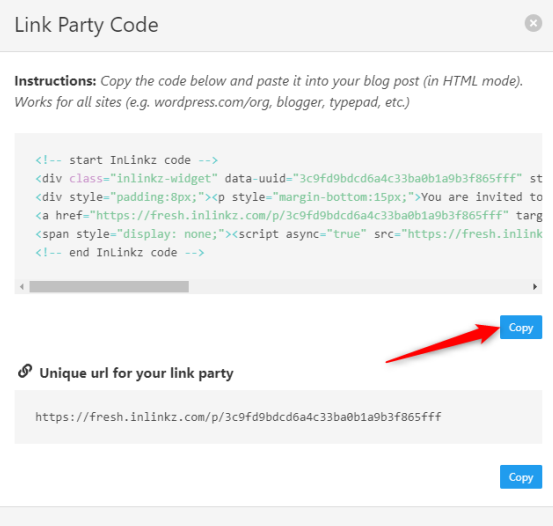
3. Paste it into your blog post while in HTML/ text mode.

Paste the code to your blog

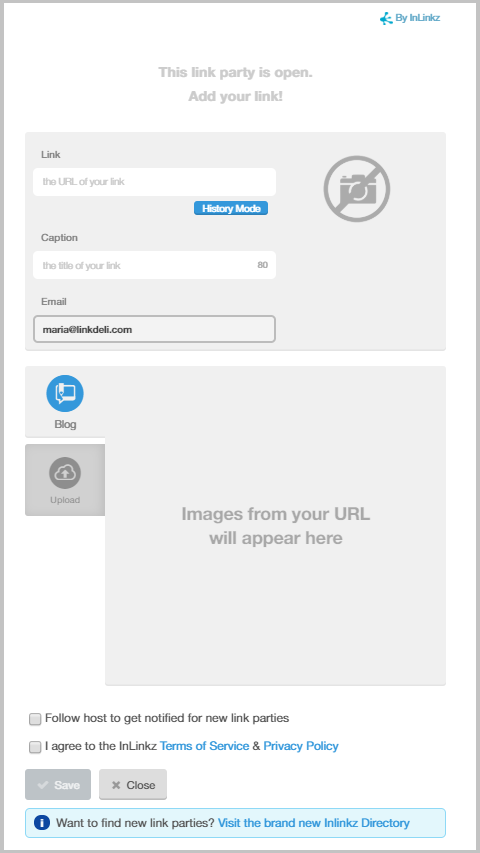
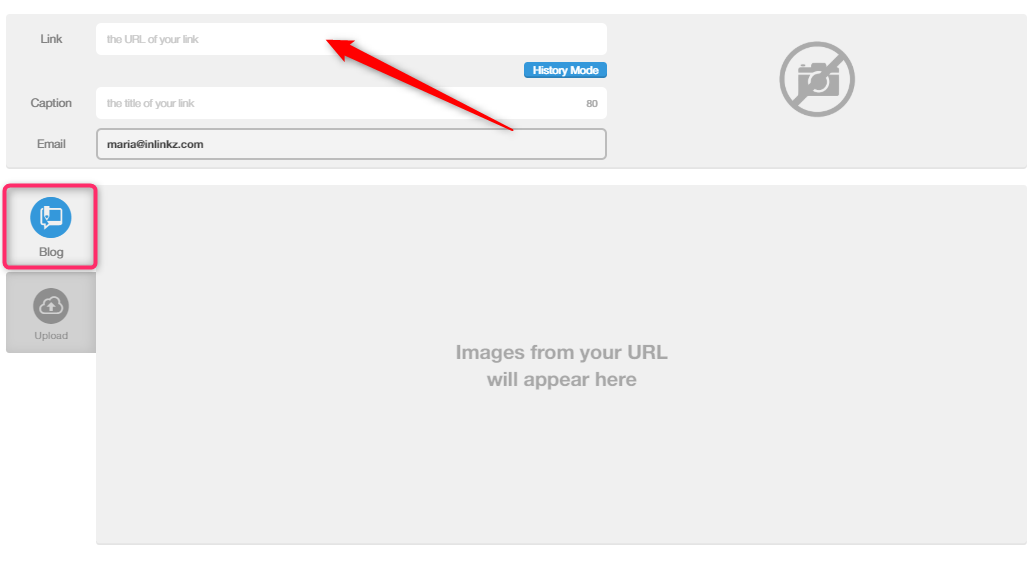
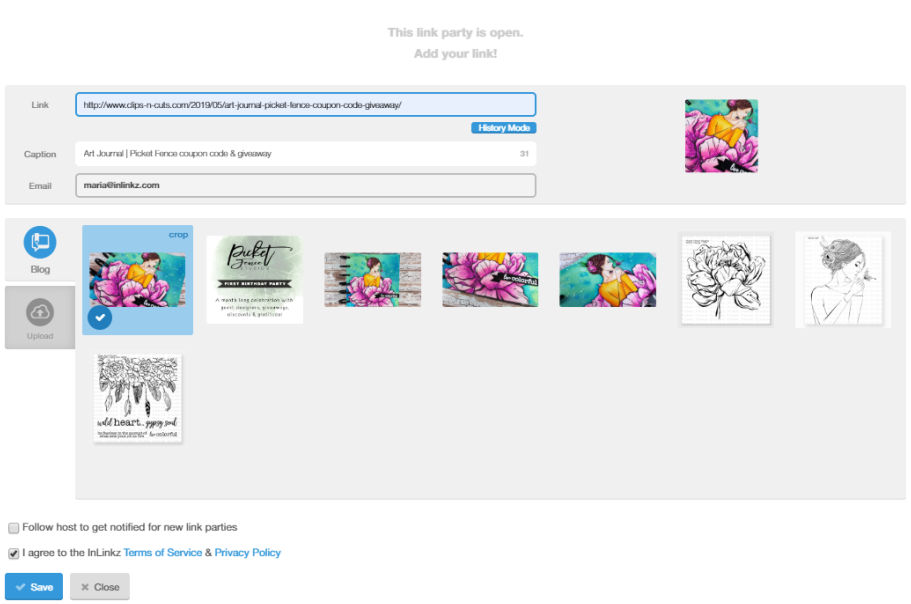
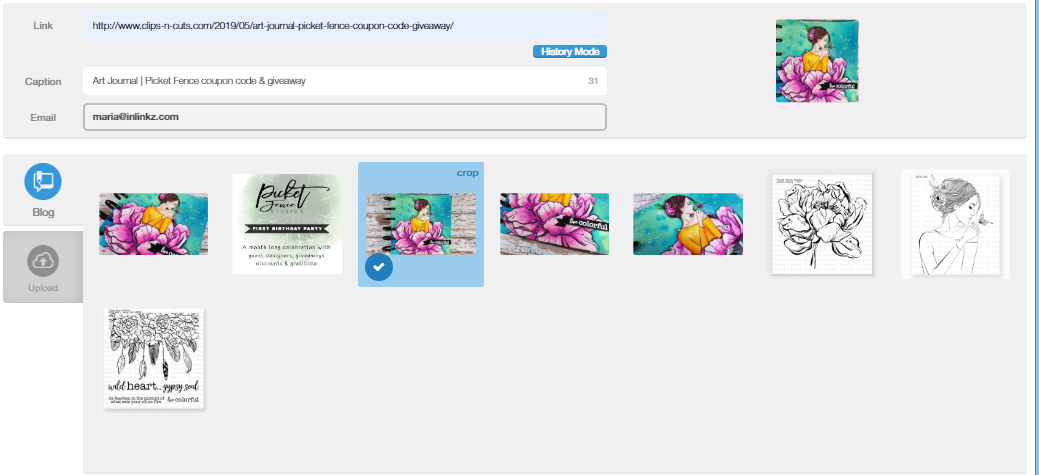
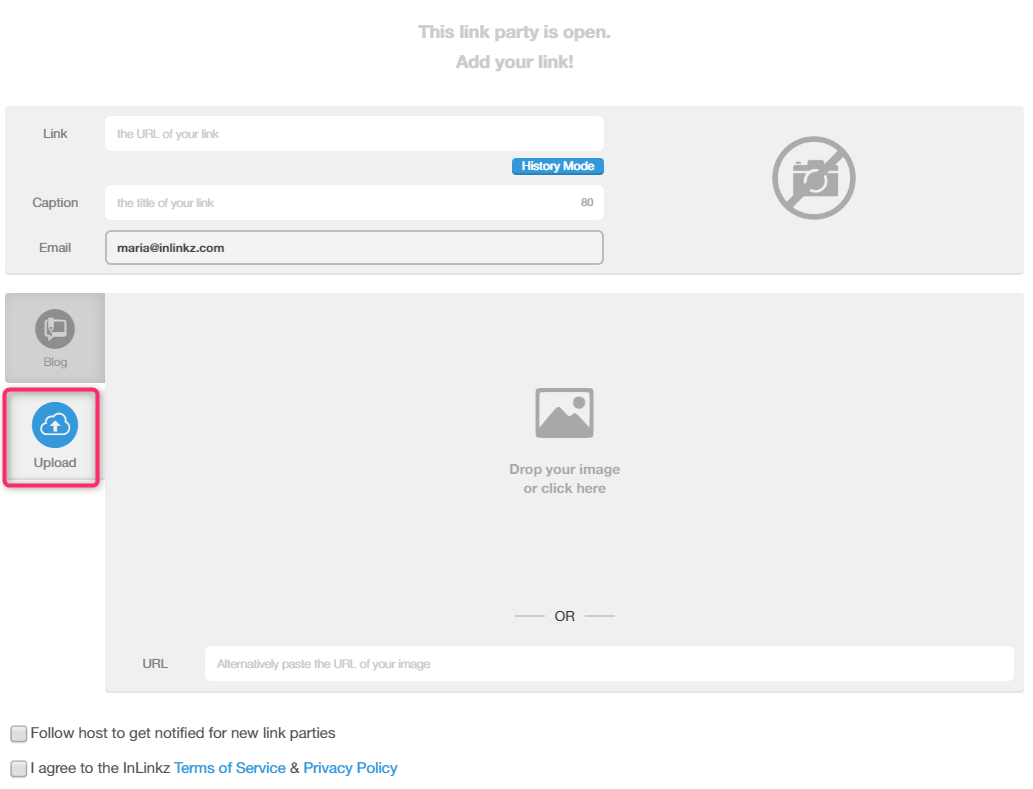
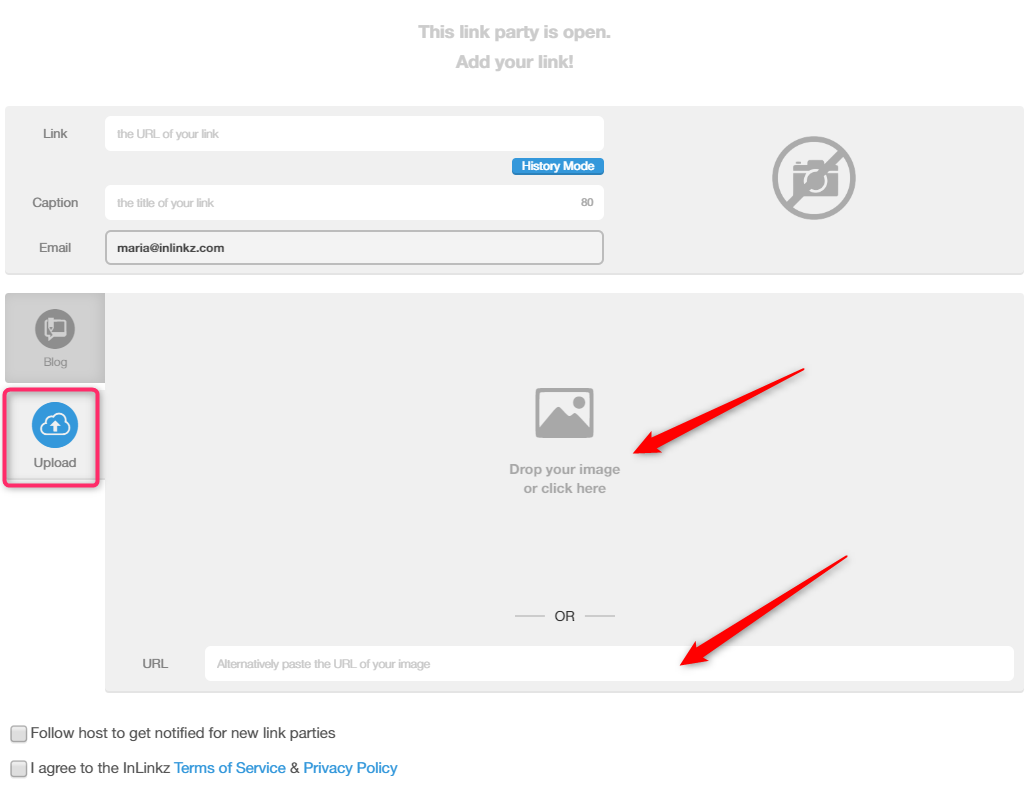
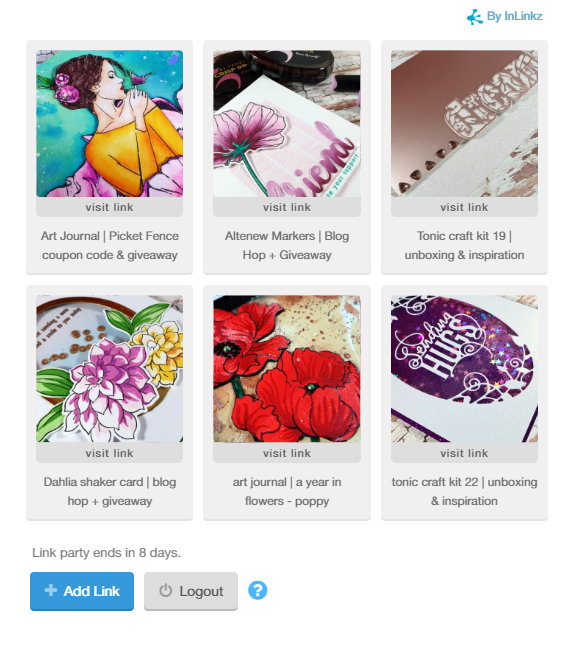
As soon as the link party opens, people will be able to add their links by simply clicking on the +Add Link button.

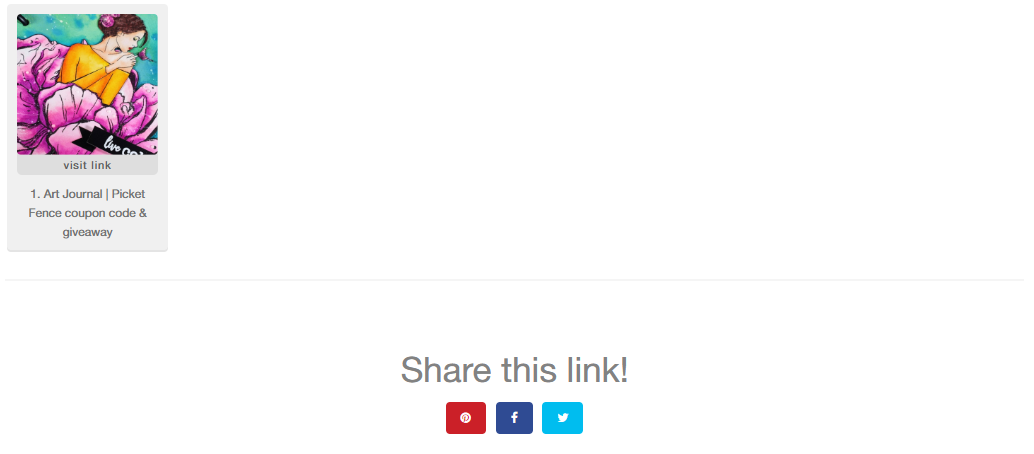
Here is how a link party with entries looks like:

Link party with thumbnails

Watch a Video Tutorial

Watch our short video tutorial to learn the basics, create your first link party and embed the widget to your blog.  To learn more about the InLinkz link parties, explore our blog or the help docsIf there is anything you cannot find,  feel free to contact us.