Link parties | How To Keep Your Followers In The Loop

As a blogger, you know that your followers are one of the most valuable assets of your blog. Even if the social media platforms or search engines change their algorithm, your followers are yours to keep.

Running link parties is a great way to keep your followers active and interact with them. In fact, those who love your parties would like to be ensured that they won’t lose any of your upcoming parties.
Explore below to learn how you can keep your followers in your loop.

How an entrant can start following you

InLinkz allows entrants who participate in your link parties to become your followers by simply putting a check on the “Follow host” box while on the linking page.

Once an entrant becomes your follower, you will be able to send them a notification directly from your InLinkz dashboard to their inbox each time you run a new link party.

How to notify your followers

Here is how you can notify your followers (aka the entrants to your party) with three only steps:

1. Simply click on the “email followers” link on your new linkups board, as shown below:

2. Select the blog where you will host the link party.

3. Send the notification to the people that follow you.

The notifications that the followers will receive will look like this:

You can send them an email notification either when you create the new party so as to have enough time to schedule their entries or when the party opens so as to be RIGHT there when the party is ready for entries.

A new link party just opened. Join now

Encourage those who participate in your parties to start following you and not miss any of your link parties.

Let People Join Your Challenge Only With An Image (No Blog Needed)

Challenges are a popular way to attract more followers, engage your audience and increase blog’s visibility. They’re also a great practice for online shop owners and marketers, as it can boost sales and grow their business.

Blog challenges offer a lot of value to your readers and keep your blog fresh by producing authentic content created by them (User-Generated Content).

A challenge, while it might require some preparation from you to nail down an enticing theme, set up rules and select the appropriate prizes, only takes a few easy steps to launch it with InLinkz.

Let’s explore how an InLinkz challenge works and how to host a challenge where everybody can join, even if they don’t have a blog.

What’s the new option in InLinkz challenges

Heretofore, in order to join an InLinkz blog challenge, it is required from entrants to submit a link, which usually is the URL of their blog post or their social account. Now,  hosts can allow their entrants to join a challenge (or a giveaway), even if they don’t have a link to submit. 

How to set up a challenge open to all.

1. Go to your InLinkz dashboard and create a new party.

Create an InLinkz link party

2. Fill in the basic details of the challenge. Set your terms and conditions.

Enter challenge details

3. Enable the This is a Giveaway option if you want to pick a winner randomly at the end of the challenge.

InLinkz giveaway

4. Enable the “Allow entries without a link” option. Click to create the challenge.

4. Copy the code and add it to your blog while on the HTML mode.

5. Once the challenge opens, the +Add Links option will be shown. The challenge is now ready to accept entries.

How entrants can participate without entering a link

1. Participants can join the challenge by submitting a photo according to challenge rules. In case they desire to proceed without entering a link, they simply have to select the corresponding option on the link page, as shown below:

2. Once they click on it, the widget will automatically switch to the upload function.

3. The entrants can now save an image on their computer and drop it in the widget.

4. Once they bring the image in, the only thing left is to enter a caption that describes the image, adjust it to fit, if necessary and save.

5. Here is how it will look like when the image is added successfully.

6. Since no link will have been assigned to this image,  people that click on that image will be directed to an InLinkz-hosted page to view it on a bigger scale.

If your audience loves your challenge and they desire to get notified every time you host a new challenge, then they have the option to start following you:

Spread the word

InLinkz encourages entrants to spread the word about a challenge by providing easily sharing buttons for Pinterest, Facebook, and Twitter. This is a great way for the host (you) to reach a wider audience.

Don’t miss promoting your challenge and talk about it on your own social networks and invite people to join so as to increase your exposure.

How To Quickly Add Links To LinkUps Using History

Starting today, you can add links quickly to multiple linkups using the recently-introduced Entries History function.

The Entries History is an incredibly useful feature designed to increase participation in link parties. Without much fuss, entrants are able to add the same links to different link parties with just one click!

Entrants don’t need to remember each specific link they have entered. Neither re-type the captions nor set cropping parameters for images, since it’s all in the History.

To use the Entries History:

1. Click to switch to History mode.

2. Your last added link will be displayed by default.

3. Click on the dropdown menu, if you want to select another link. Inlinkz will show you a list with the last 10 links you’ve added.

4. Scroll through and choose one link. Save.

5. Disable the history mode by clicking on the relevant button

How To Run A Blog Giveaway With InLinkz

Running a blog giveaway is a great way to skyrocket your blog’s exposure and increase your audience.

Usually, setting up a giveaway is a time-consuming process that seems daunting to readers.

InLinkz can help you run a giveaway the easy way. Not only saves you from doing things manually but also makes entry easy for your readers.

Here is how you can set up an InLinkz giveaway in only four steps:

1. Go to your InLinkz dashboard and select to create a new link party

2. Enter the basic information regarding the giveaway, such as the opening and the closing date, the entry requirements/ rules (make sure you state them in a clear and consice manner) as well as the prize details.

3. Click on the Giveaway checkbox and your giveaway is ready to be launched.

Once you have created a giveaway, a purple gift icon will be displayed on the party’s board which indicates the giveaway.

4. Add the code to your blog while on HTML mode and invite your readers to participate in your giveaway.

Spread the word!

Notify your followers about the upcoming giveaway by enabling the corresponding option from your dashboard:

Once you have activated it, an email notification will be sent to your followers.

How to pick the winner

Once the giveaway period ends, you can use the widget to pick your winner.

1. Click to preview the giveaway or the gift icon to manage your giveaway.

2. Select to pick a winner by clicking on the “pick a winner” link.

The system will randomly select a winner from the participated entrants.

Keep in mind that only entrants that have verified their emails are eligible to win.

After you pick a winner, the winner’s link will be marked as purple in your collection.

Announce the winner on your blog as well as on your social networks for gaining more views on your blog.

How To Add Your Links In A Link Party

A new link party has been announced and it is time for you to add a link.

Let’s see how you can do it with only a few clicks!

If it is the first time you join an InLinkz link party, you will need to verify your entry.

Before you get started, make sure you read carefully the rules that the host has set and follow them.

Add your link

1. As soon as a link party opens for entries, a blue +Add Link button will be displayed at the bottom of the blog post. 

Add link

Note: In some cases, you might need to click on the “Click here to enter” button to view the link party:

Click on the blue button to enter to the link party

2. Click on the +Add Link button to expand the link options.

Here is how the linkup page will look like:

Link options

3. The Blog tab will be open by default. Copy the link you want to add and paste it to the URL field.

Paste your link

4. The widget will bring in all the images associated with this URL.

Images associated with a link

5. Click on an image to select it.

Select an image

6. Crop the image to fit and apply the cropping.

Crop the image

Apply cropping

7. The widget will automatically pull a title for the link. Edit it, if necessary.

Edit the caption

8. On the email field the email you have used to login will be displayed.

To linkup using a different email, click here

Diplay email

Note: Your email will be only visible to the host of the link party.

9. Follow the host to get notified for new link parties by checking the relevant box.

Follow a host

10. Agree to the InLinkz Terms of ServicePrivacy Policy and save your link to the collection.

Save your link

Note: If a host requires backlinks, then your link might not be visible in the collection until they moderate it.

Upload a link

If the URL of a link doesn’t bring in the desired image, you can alternatively upload an image from your computer.

1. Select the upload tab.

Upload a link to a link party

2. Save an image to your computer and then drop it into the widget. You can also copy the URL of the image and paste it in.

Upload a link to a link party

Tip: To copy the exact URL of the image, right-click on the image and then select to “Copy image address”.

Share your link with your followers

Once you submit a link, share it with your followers on Pinterest, Facebook, and Twitter and let them know of your participation. Invite them to visit your link.

Share you link on pinterest, facebook or twitter

Add the same link to multiple linkups

In case you want to add subsequent links to multiple linkups without needing to re-type the caption use the History function

Want to find more link parties to join? Visit our free link party Directory!

How To Start A Link Party: A Step By Step Quide

Welcome to InLinkz link parties!

InLinkz makes it easy for you to throw your own link party on your blog.

Sign up for free to start hosting linkups.


We have created this free guide so that anyone can learn how to run a blog link party quickly and easily.

So, just how do you start a link party?


Learn how to host your own link party following these steps:

Create a free account

1. Go to Inlinkz and click on the blue button at the top right to get started.

2. Register to the service via an existing social account (facebook or google).

Register to InLinkz via social media

Alternatively, create an account manually.

Create an InLinkz account manually

After registering, you will receive an activation email at the email address you entered during registration. Select the link in the email to activate your account.

If you do not see the activation email in your email inbox, please check your junk/ spam folder.

If you’re still not receiving the email, contact us to troubleshoot further.

First login to InLinkz

If you are logged into InLinkz for the first time, you will need to set up your timezone and associate a blog with your account.

1. Log into InLinkz via social media or continue with your registered email.

Log into InLinkz


2. Click on the arrow next to your email and go to your Settings.

Account Settings

3. On the Account Status,  set your timezone from the dropdown menu.

Timezone

Setting your timezone determines what time a link party opens and ends.

4. Select the “My Blogs” tab from the Profile box on the left to associate one or more blogs with your account.

To +Add a new blog click on the blue button on the right.

Associate a blog with your InLinkz account

Enter your blog’s URL in the first field.

Select one or more blog categories (by holding the ctrl/ cmd).

Enter a few tags to describe your blog.

Associate a blog with your InLinkz account

Create your first link party

Now, it’s time for you to create your very first link party!

1. On your InLinkz dashboard, click on the +New tab.

Create an InLinkz link party

2. Select a title.

Select a title for your link party

Note: This title will be displayed in the InLinkz Directory as well. To join our free link party directory, click here.

3. Set an opening and a closing date. Once you click on the desired date, the clock to set the time will be shown.

Set an opening and a closing date for your link party

A link party opens for new submissions at the date and time set in the “Opening Date” field and closes when the “Closing date” is reached.

Here is how your link party will look on your blog before it opens:

This link party is not open

Between the opening and the closing date, the widget will display an “Add Link” button for entrants to add their links:

This link party is open

4. Select a type for the party.

Thumbnails with captions

Thumbnails without captions

or the thumbnails without any additional information underneath the image.

5. Write the Terms & Conditions for your party and let your guests know about the rules, the prizes or any other prerequisites for joining the party. These will be visible on your blog just before the link collection.

Terms and Conditions of a link party

6. Click on the Giveaway checkbox, if you want to run a giveaway.

InLinkz giveaway

7. Check the “Allow entries without a link” option to allow entrants to join a  link party, even if they don’t have a link to submit.

Allow entries without a link

8. To customize your link party further, click to expand the +Advanced options. To learn more about the +Advanced options, click here.

Advanced options

9. Click on the blue button at the bottom of the page to create your party!

Create a link party

10. The only step left is to copy the code of the party and add it to your blog.

How to add the link party to your blog

1. Once you create the link party, go back to your InLinkz home page and click on the copy code button to grab the code of the link party.

2. Copy the code

Link Party Code

3. Paste it into your blog post while in HTML/ text mode.

Paste the code to your blog

As soon as the link party opens, people will be able to add their links by simply clicking on the +Add Link button.

Here is how a link party with entries looks like:

Link party with thumbnails

Watch a Video Tutorial

Watch our short video tutorial to learn the basics, create your first link party and embed the widget to your blog.  To learn more about the InLinkz link parties, explore our blog or the help docsIf there is anything you cannot find,  feel free to contact us.

Making Sense In A Post-GDPR Blogspace

Making sense in a post-GDPR blog space

DISCLAIMER: This is not legal advice. You should seek your own legal counsel on your responsibilities under the GDPR. We cannot be held liable for any advice taken from this article.

So, now that this is out of the way, let’s see what the GDPR is.

What is the GDPR?

“The General Data Protection Regulation (GDPR) (EU) 2016/679 is a regulation in EU law on data protection and privacy for all individuals within the European Union. It also addresses the export of personal data outside the EU.”

On December 15, 2015, following three years of drafting and negotiations, the European Parliament and Council of the European Union reached an informal agreement on the EU GDPR.

The aims of the GDPR are:

1. To reinforce data protection rights of individuals
2. Facilitate the free flow of personal data in the digital market
3. Reduce the administrative burden.

What that means, in as few words as possible, is that it is a new law/regulation that makes sure the big companies do not abuse our private info for their own shady purposes. And if they do, then there is a common legislation to act upon.

Does GDPR apply to me?

Yes, you have to keep GDPR in mind, when your online business is based in Europe, or you do business with Europeans. GDPR spans B2B and B2C relations, regardless of size. So bloggers fall in the “apply” category as well.

There is some conflict regarding legal entities that do not engage in economic activity (4.18). From our point of view though, even if you do not make any money from your blog, you should still be GDPR compliant as it also states that this includes “partnerships or associations”. Those could mean e.g. your google analytics or facebook like button that makes money for them. So play it on the safe side.

But, I’m not located within the EU!

Your site should be GDPR compliant if even one EU citizen can access it. Unless your site is completely blocked for those Europeans, it still needs to be GDPR compliant. (There is also the question of what happens if this European is not on EU soil. There, it gets complex!)

Is it good?

Yes, it is. It gives some rights on the end user’s private data, back to the end user. If you have ever tried to remove your facebook account (and probably failed miserably), you will be able to do so from 25th of May, 2018 onwards. (YAY!)

So, why is GDPR so bad?

Just like with other laws, the motives are noble, but the actual technical implementation is unclear on many points. For small and specialized businesses, like e.g. a blog, some rules might be difficult to implement and even be counter-productive.

But why does everyone panic?

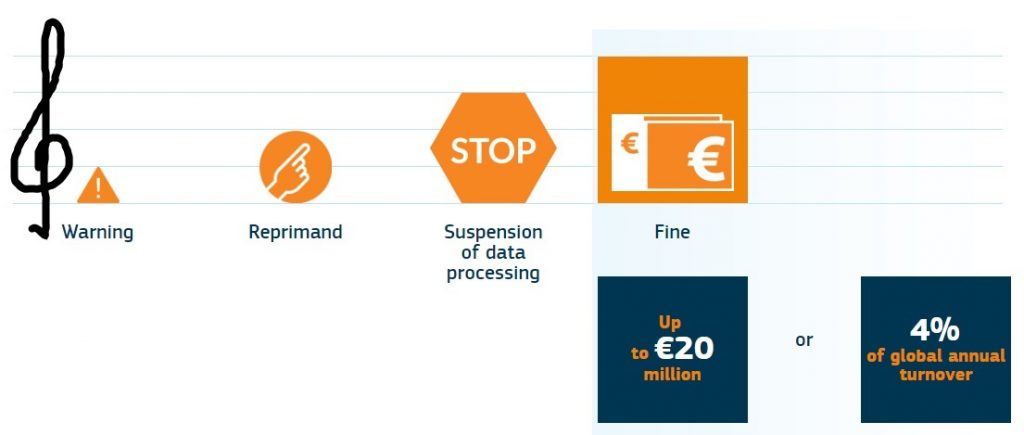
Have you seen people erasing their blogs and shouting out “THE END IS NEAR”, yet? If not, don’t worry, you will. This is all due to the fines that come with the GDPR.

The legislation states that the fines for not complying are up to €20M or 4% of the annual revenue cycle (whichever is bigger). Sure, after seeing this number, you get a panic attack. This is what law firms and assorted “consultants” will tell you if you ask them to handle your case (and pay them of course).

Got your attention? Great! Now, please take notice of the “up to” and the comparison between €20.000.000 and 4% “whichever is bigger”. The case where 4% of the annual revenue is bigger than 20 million euros is when the company has an annual revenue of HALF A BILLION euros! This is not your blog they are talking about. These are big corporations that up to now, were abusing your private data to sell ads and produce human behavioral statistics to sell to governments and other big corps.

There is a whole paragraph on fines and between others, it mentions, that the fines are analogous to the size of the business and the gravity of the situation. (check it out for yourself on paragraph (148) here)

According to the European Commission, the process of whacking you for non-compliance is as follows:


So, don’t panic. The legislation is here to make the internet a safer place, not to start the “Bloggers Behind Bars” movement (BBB for short). It is still early and the legislation hasn’t come into effect just yet. The industry will slowly adapt to the legalese and provide actual solutions to the technical problems the new laws introduced.

Of course, that does not mean you do not have to do anything. Au contraire!

What can YOU do to make your blog GDPR compliant

To approach it simply, there are three main things a blogger needs to understand first:

  1. Know your personal data ​- clearly, understand what you and your partners capture and process (we are one of those partners).
  2. Be accountable​ – ensure you and your partners are accountable for personal data
  3. Provide transparency & control​ – to your users (in many cases this means asking for consent)

Let’s delve a little deeper.

Under GDPR, personal data is any information relating to an “identifiable person”.

Identifiable information includes such things as a name, ID number, location, ethnicity or political standing. Data doesn’t have to be confidential or sensitive to qualify as “personal”.

For a typical blog, these Personal data would include:

  • Blog post comments data (name, email, IP)
  • Traffic stats plugins/tools such as Google Analytics
  • 3rd party hosted services such as Jetpack, Bloglovin’ and Disqus
  • Email signup forms such as Mailchimp or FeedBurner
  • Contact forms
  • Facebook / Instagram / twitter everything (buttons, likes, feeds, whatever)
  • Issues relating to the location of your web host. E.g. data is transferred to servers outside the EU
  • Any plugins that you use will also need to comply with the GDPR rules. As a site owner, it is your responsibility to make sure that every plugin can export/provide/erase user data it collects in compliance with the GDPR rules.

So, you need to make a list of all the data you keep and all the services you are using. Then, make sure you really need that data or stop keeping them. And log everything on your privacy policy (more on the PP later on).

The same goes for the services you use. Make sure they are GDPR-compliant. In case they are not, you must either drop them or make sure they behave to the data they gather, in a GDPR-compliant way by signing a Data Protection Agreement between you and them (DPA). This is needed because you are responsible for all the data you handle (even if they are provided to you by a third party tool).

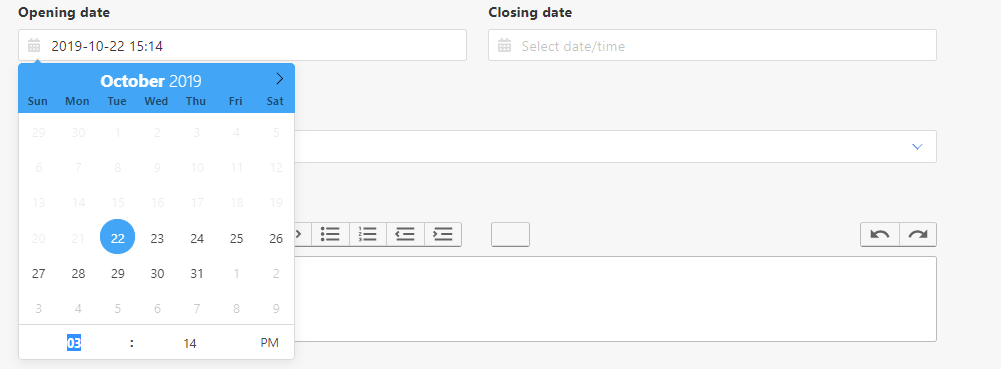
You still have to get consent for cookies as you did anyway (you did, didn’t you?). But now, GDPR just raised the bar. Instead of simple cookie banners, under GDPR you need to use a consent tool to obtain this cookie consent. Technically, your site should NOT set any cookies before the user gives her consent.

A great (and totally free) consent tool can be found here (or at the links at the bottom of the post).

So, what do I do?

First and foremost, create a privacy policy!

There are tools to help you with this like e.g. this one which allows you to create one privacy policy for free.

The privacy policy is the most important piece for GDPR compliance and, while creating it, you will also discover on which external services you depend on and whether they are GDPR compliant as well.

Then, you will need to make sure you display a privacy notice every time you gather private data.

Re-request consent from your email list

Another thing you might want to do is re-request consent from the owners of the email addresses on your email list. Your email list service should provide such functionality.

Contact 3rd party services

For information about their compliance (e.g. Disqus, Jetpack and others). You will need to list any information about 3rd party services in your Privacy Policy.  The tool presented above does most of the work for you.

We can confirm that InLinkz is fully compliant!

HTTPS

Make sure your site is served over https instead of HTTP. Contact your host if you are not sure how to go about it. You will need an SSL certificate. Most hosts will be able to provide you one for free. For more techie bloggers, you can check Let’s Encrypt

WordPress plugins

Make sure they are compliant as well (they might manage data in ways you do not want). And of course update as soon as possible.

Check your site for trackers

Trackers are the various techs that are used by services like google or facebook to pull information about your users. So, in chrome, you can install a plugin like Ghostery and confirm that the trackers present on your website, are mentioned in your privacy policy.

And what shouldn’t I keep doing (that I probably do)

  • Auto opt-ins! Everyone should have to express their consent (yep, click that box) to opt-in.
  • Give away freebies to get email addresses for one purpose then use them for another. If you gained email addresses this way you should go out to re-validate consent or you may be in breach of GDPR. Normally, your GDPR-compliant email-list service already has this functionality.
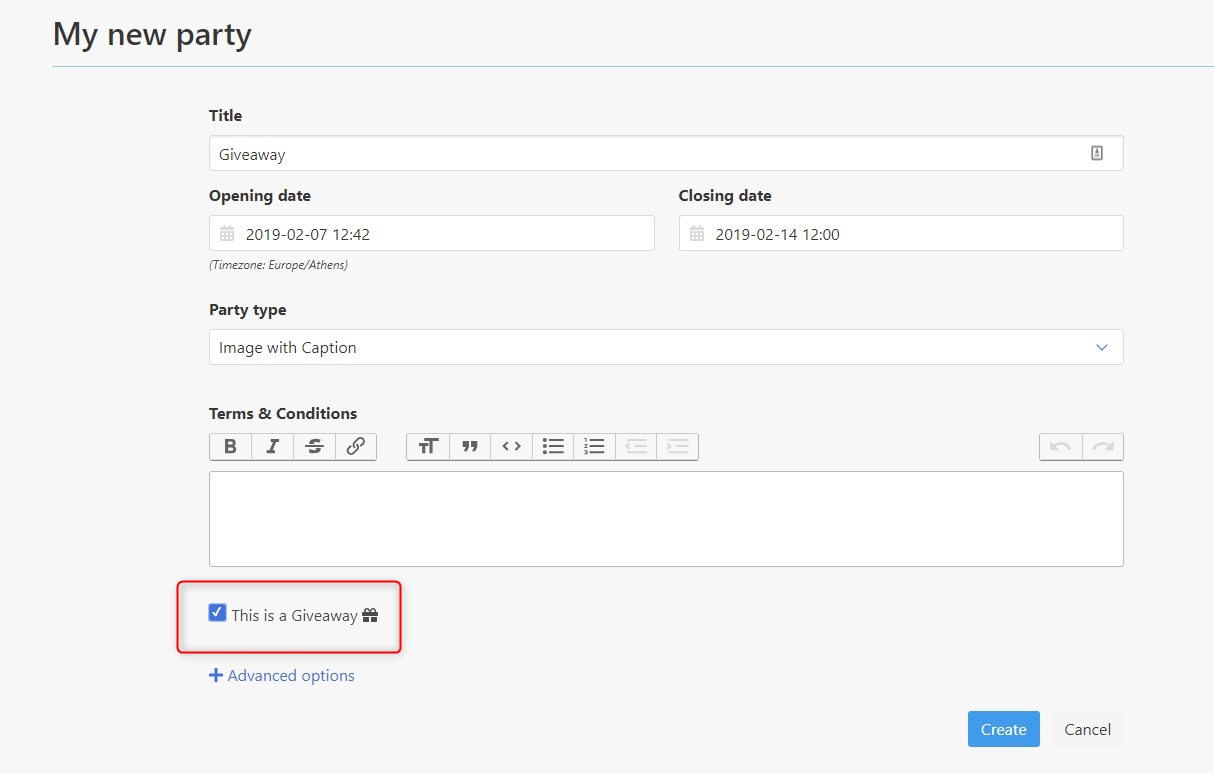
  • Share data with anyone else who wasn’t declared at the point where data was provided, for example, give your giveaway’s email addresses to other bloggers without having explicit permission from the email address owners.
  • Stop collecting data where not necessary, for example, contact form/comments.

“What about YOU?”, you say!

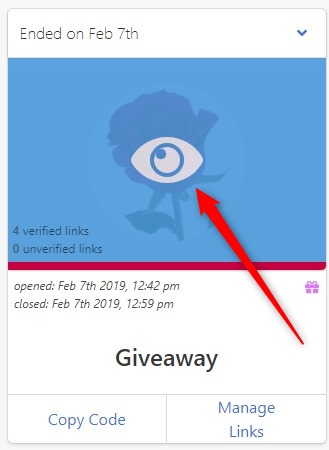
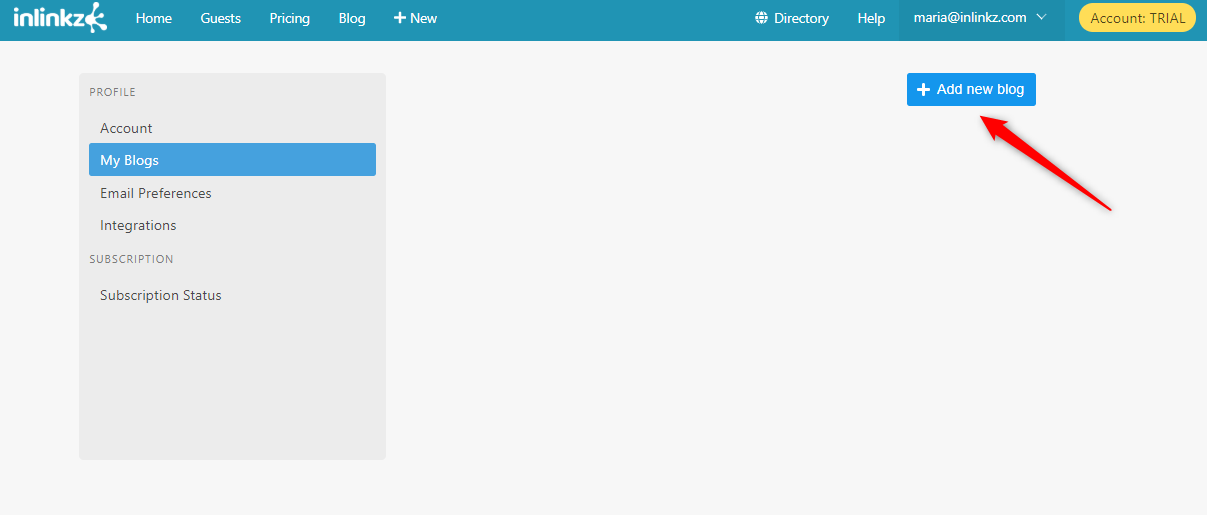
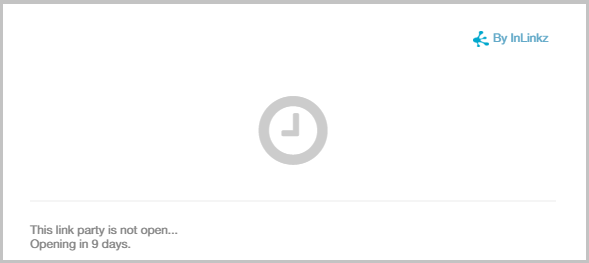
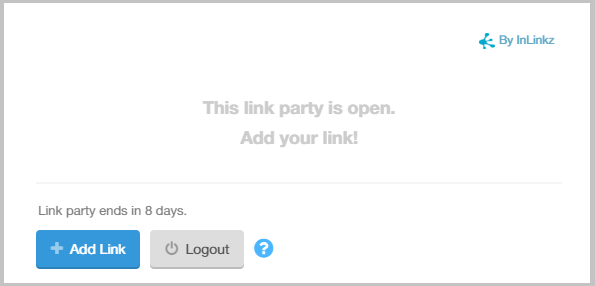
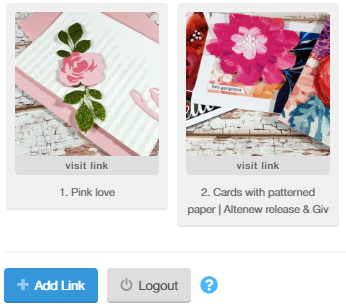
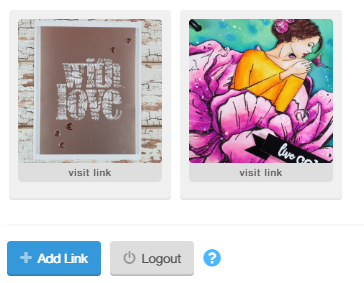
InLinkz by nature is a consent-based platform, users specifically give consent to enter campaigns and the data they provide is only ever shared with the owner of the campaign. So InLinkz acts as a Data Processor on behalf of the customer (Data Controller).

What have we done so far

  • Contact: You can now contact us directly via privacy@inlinkz.com to discuss any specific concerns
  • New Privacy Policy: We have rolled out a new GDPR compliant privacy policy (which is easy to understand, too)
  • New Data Processing Agreement: Since we store data in the USA (in an EU Privacy Shield-Compliant facility) we will be updating our agreement with EU customers detailing how we process their data
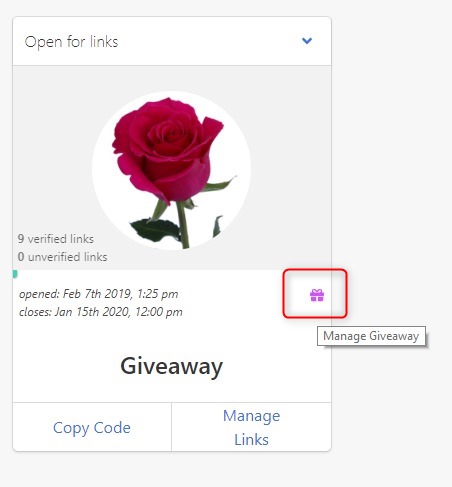
  • Right to be forgotten: As it has always been, you can request all your data to be removed. For linkup hosts, you already have the power to delete entrants if they exercise this request to you directly.
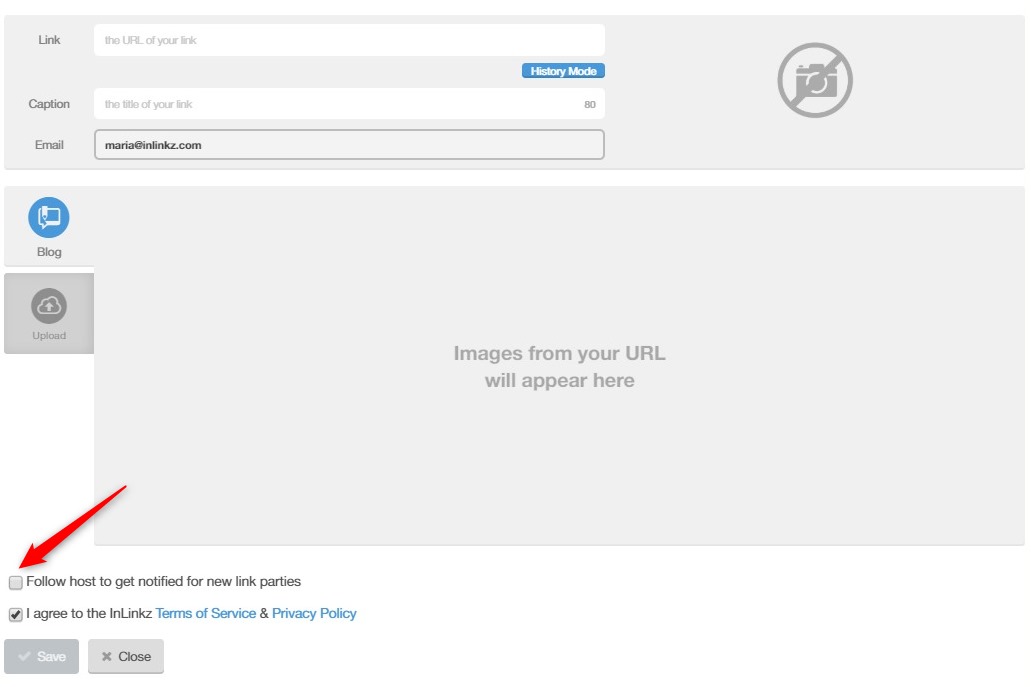
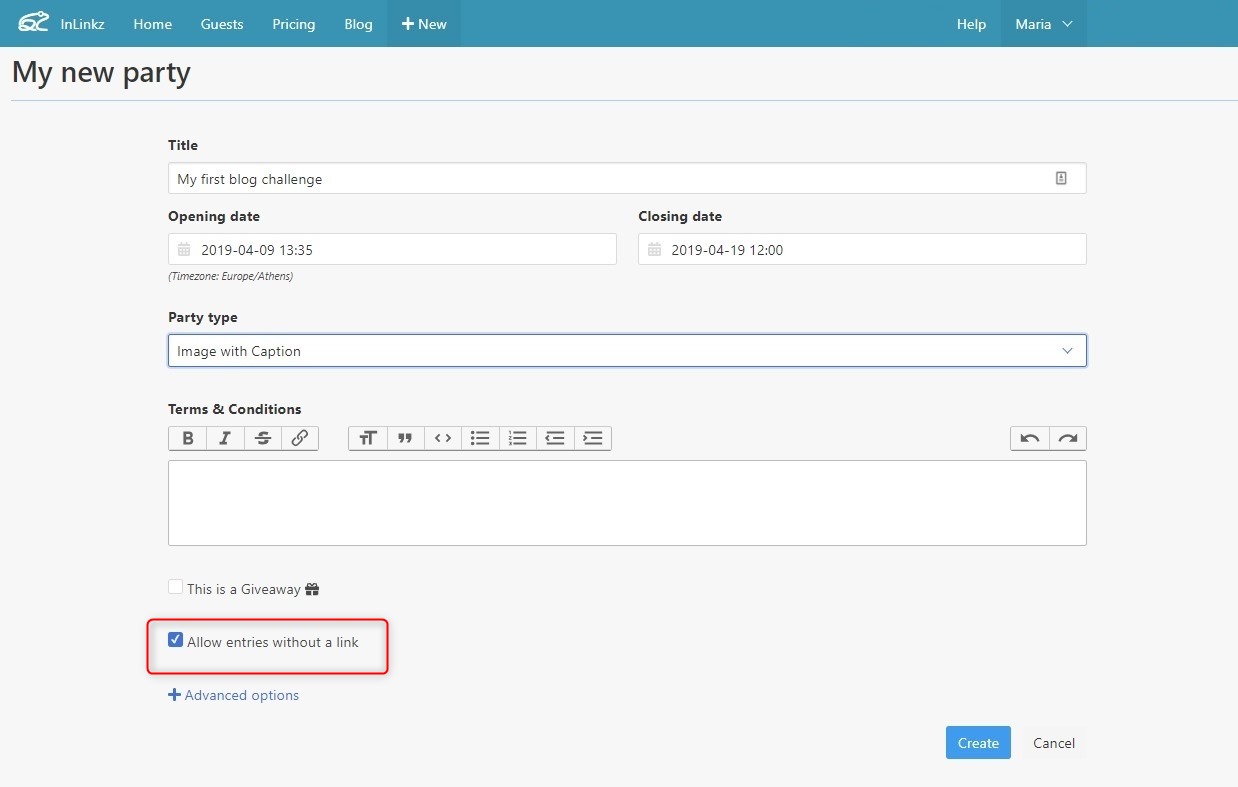
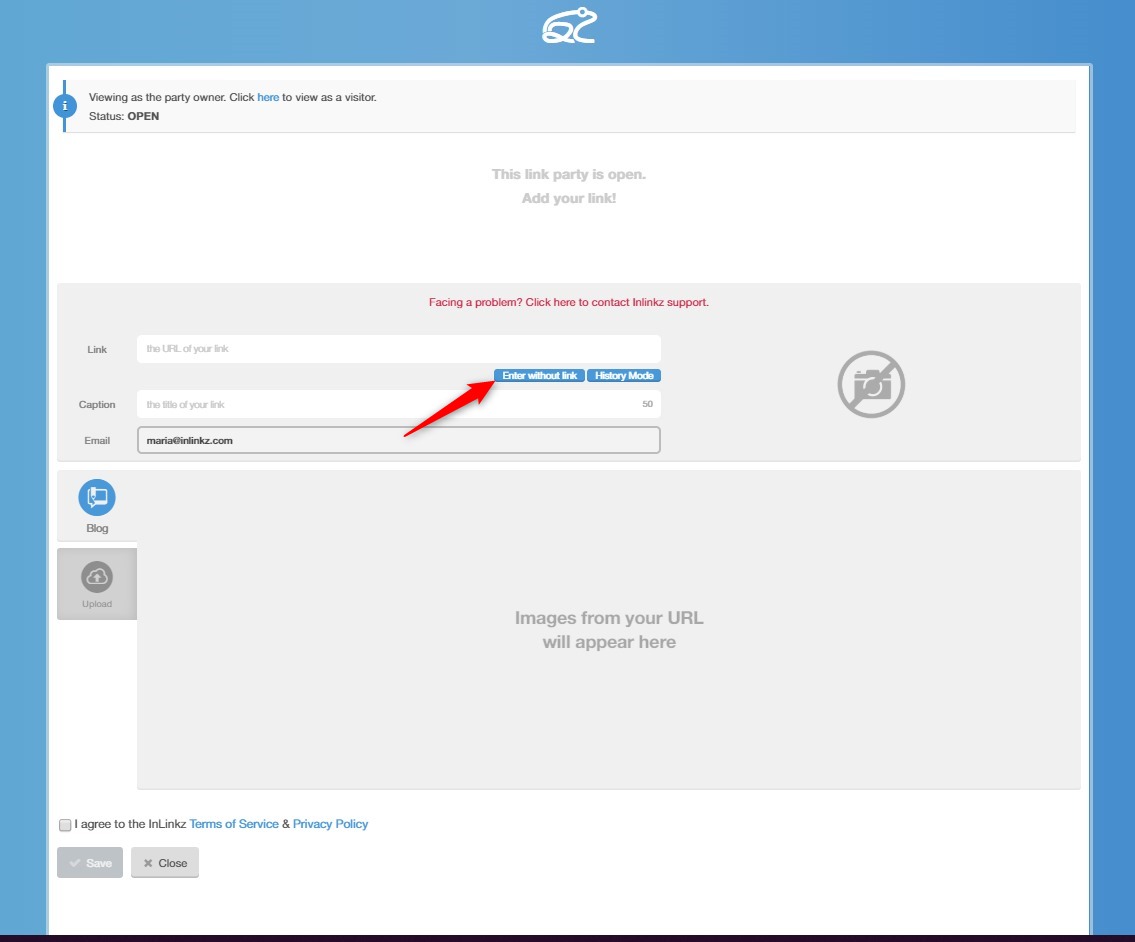
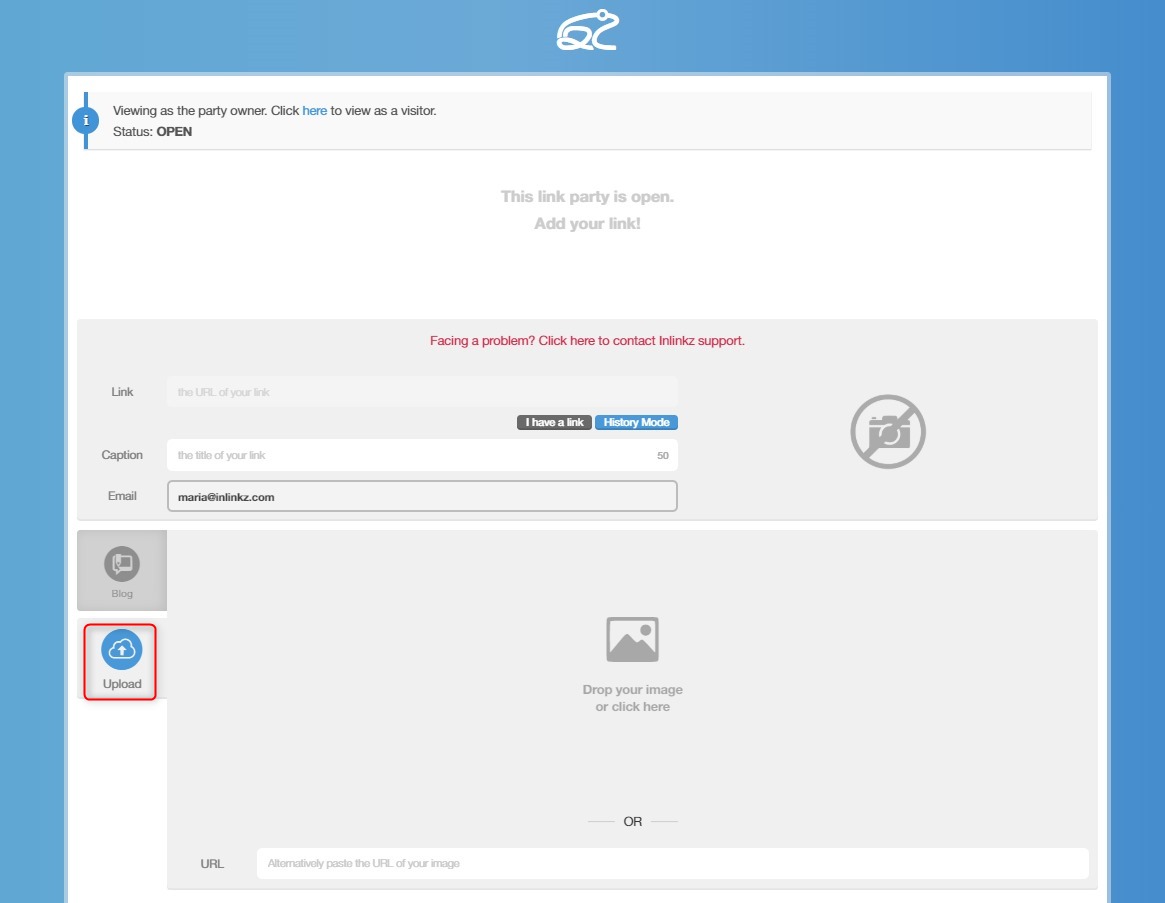
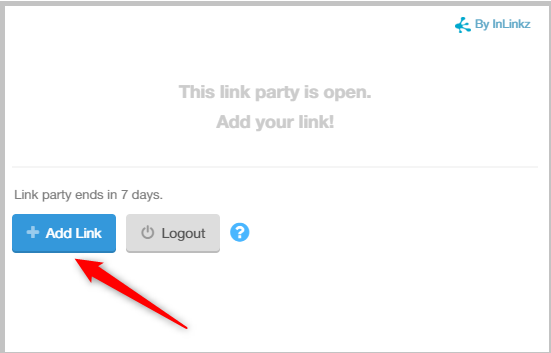
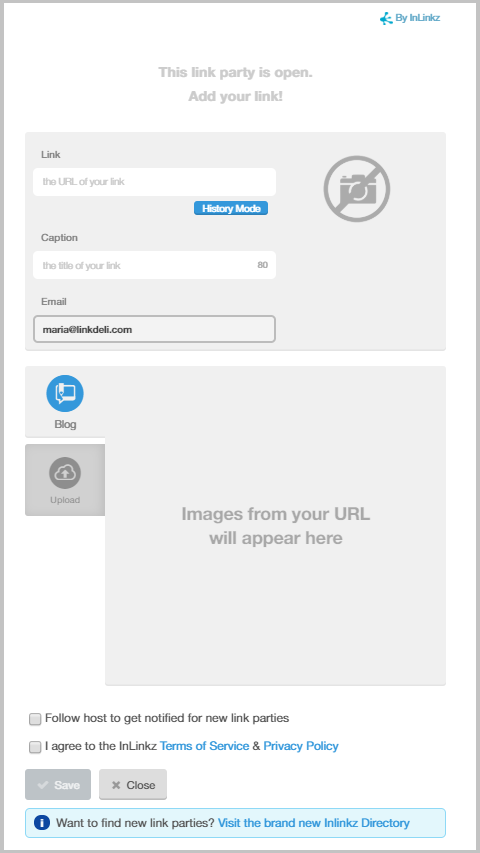
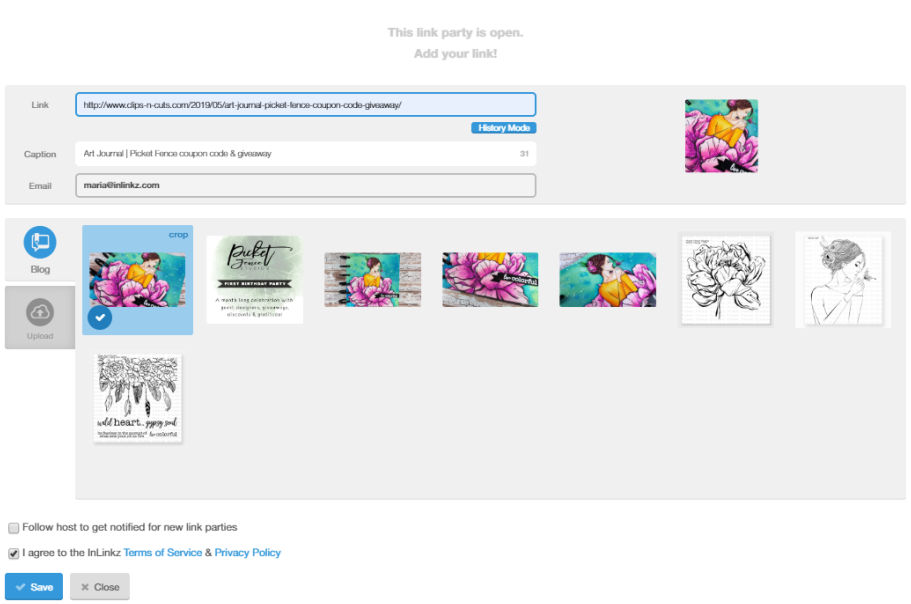
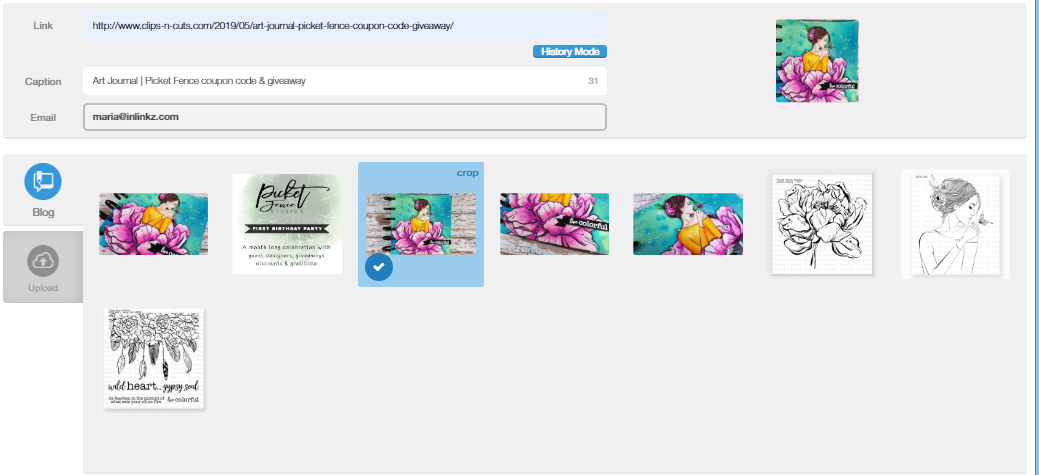
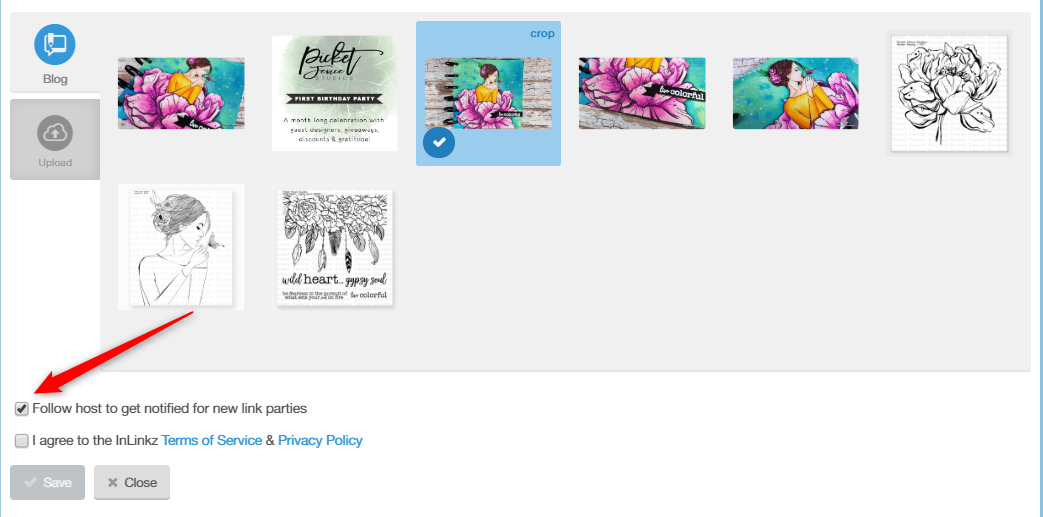
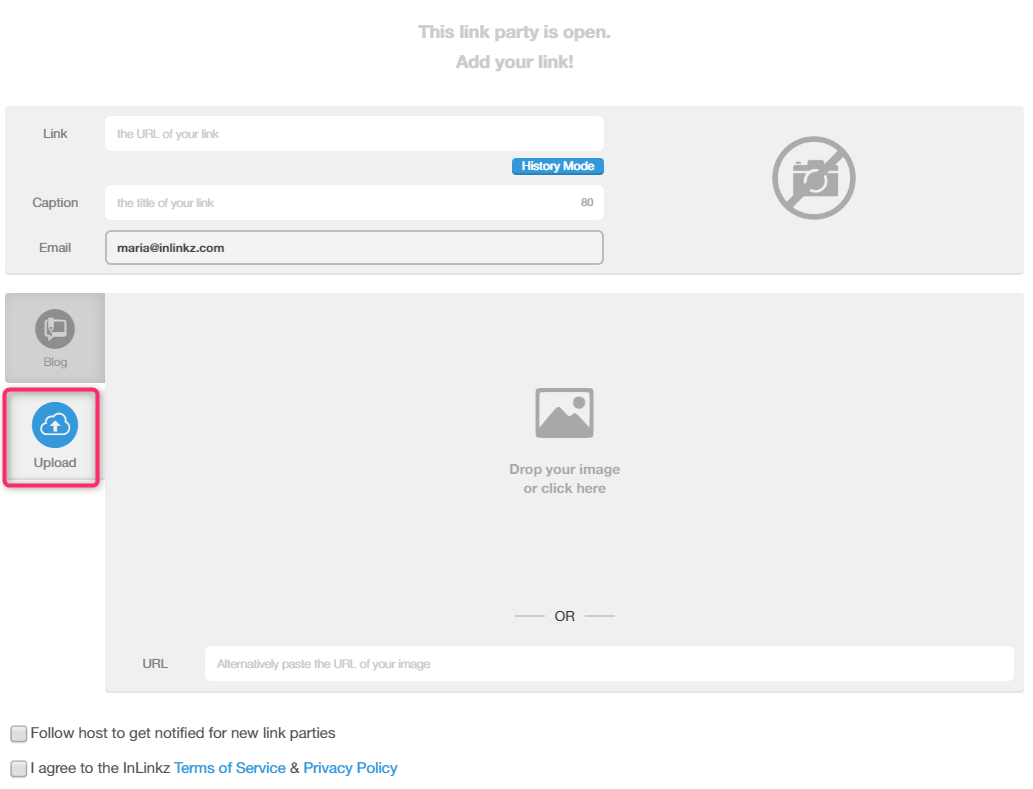
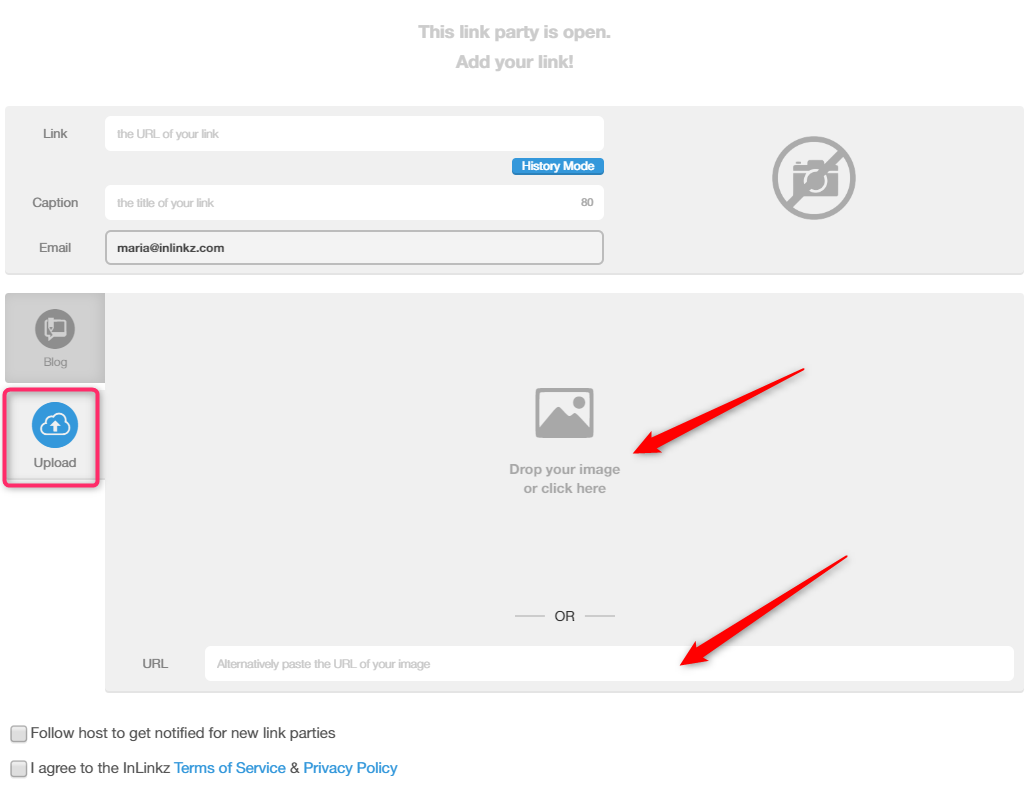
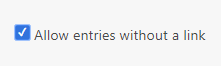
  • Consent: Improved the ability to obtain additional consent via checkboxes in the Add Link page.
  • 3rd Parties: Helping customers understand the 3rd parties that we have data processing agreements with (i.e. MailChimp, Google Analytics, etc)
  • DPIA: We have conducted a Data Protection Impact Assessment and it is available to authorities if requested.
  • Written this blog post: to make sure you do not panic and go erasing any linkup you have! Linkups are still a great way to bring engaged traffic to your blog and let your users contribute to your content and exposure!

Final thoughts on GDPR.

While it may now seem that the sky is falling on our blogging heads, the GDPR is actually a welcomed change. The last time something similar was drafted was back in 1995, called the Data Protection Act. And the online world has changed dramatically since then. At that time, “blog” wasn’t even a word.

With the GDPR, control of the individual’s private data is given back to the individual. The big corps are required to have accountability over our data and their actions on it and trust will slowly build up from now on between each level of existence in the online world (consumer, reader, blogger, BigCorp, etc)

Panic is a bad advisor and deleting your email list or your Linkups, will not instantly make you GDPR-compliant. You just need to make it clear to your readers that you respectfully ask for their info.

Up to now, big corps snatched our precious PII for their gain, resulting in a general feeling of distrust. Building trust back to our beloved internet will only make it better and safer for all of us!

Think we are missing something?

Feel free to let us know in the comments or just send us an email and we’ll update ASAP!

Remember, this is not legal advice. It is only a guide to move you in the right direction. As long as you have taken some steps to make your blog compliant, you shouldn’t worry about legal action. So again, if there is only ONE thing you have time for, then, create a Privacy Policy!

Useful links: